Fixing HTTPS with AWS CloudFront. PART 3
Posted on March 18, 2025 • 4 min read • 844 wordsWe will be using Amazon AWS Cloudfront to reroute our website through HTTPS

Patience my internet-friend. Remember how I mentioned we were going to fix that “Not secure” bit when visiting our site?
We’re gonna do that now! Why? Because someone on the internet decided that HTTP is not secure enough so now all sites have to be HTTP-Secure…or HTTPS. Otherwise browsers are going to yell at us every time we visit our site.
The good news is that after we are done with this bit, we can start working on our actual site. The bad news is that this process is a bit chomp-licated, AAAAAND cost some extra $ since we are paying for traffic that is going through CloudFront. Adds maybe $1-$2 extra a month. The other good news is that I’m going to tell you how to do it step-by-step!
First thing to know, we are going to be using AWS CloudFront. CloudFront is basically like a bunch of computers in the CLOUD all around the world that take snapshots of your site so when someone visits it two things happen: 1. It shows your site faster because it’s already sort of saved on those computers, and
B. It will try to pick a contuter in the cloud that’s close to whoever is vising the site so it can show it faster. So if someone from France is visiting it, it will try to pick a contuter from France to show the saved version.
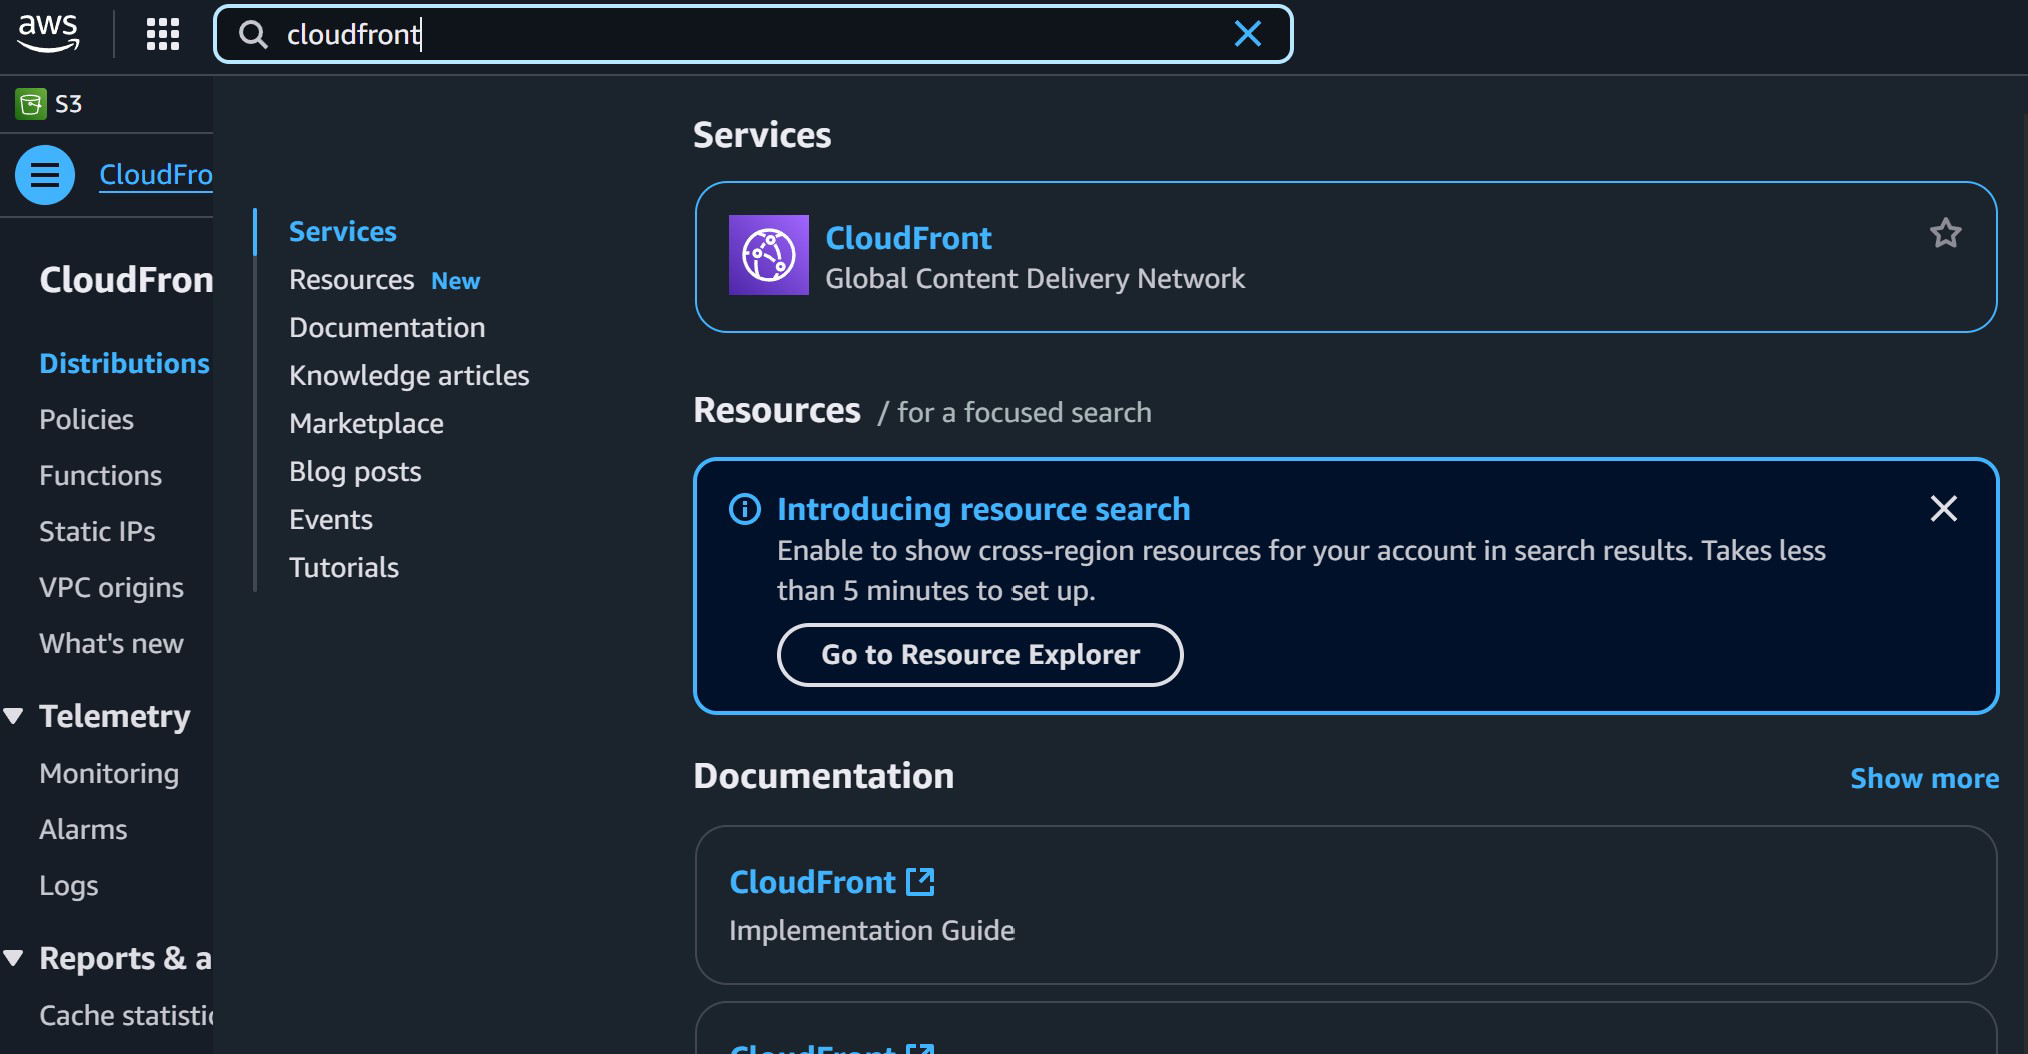
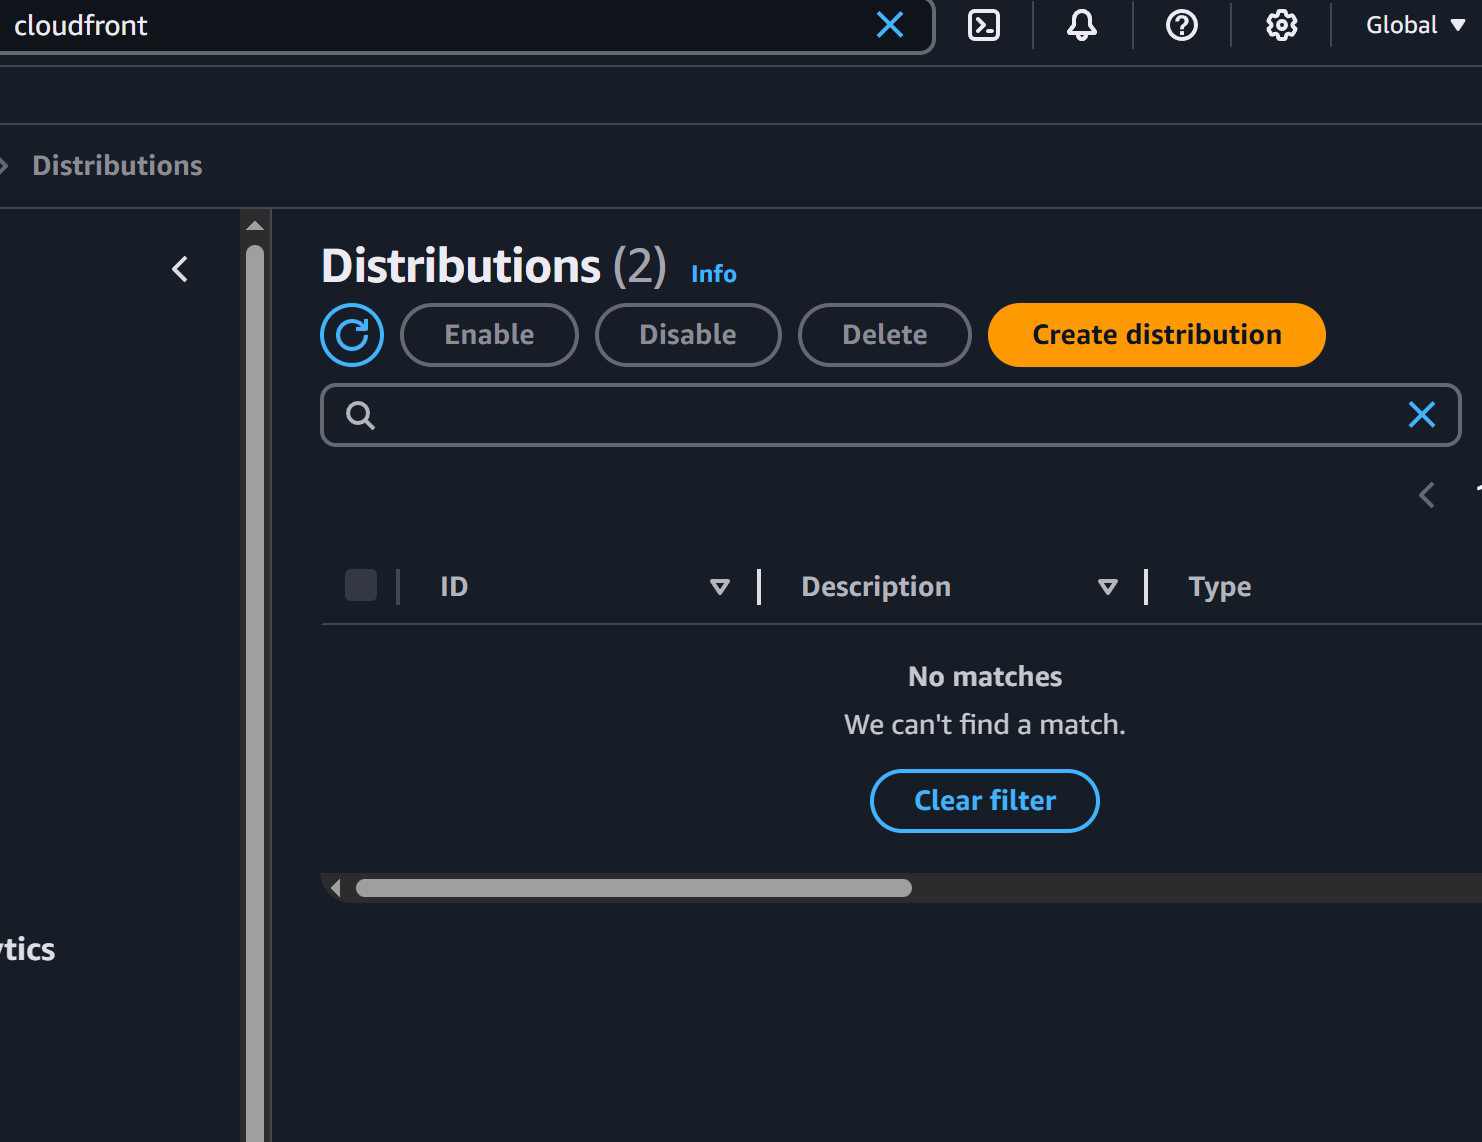
Okay, here we go. Go into your CloudFront AWS location like above. We’re going to click “Create Distribution”
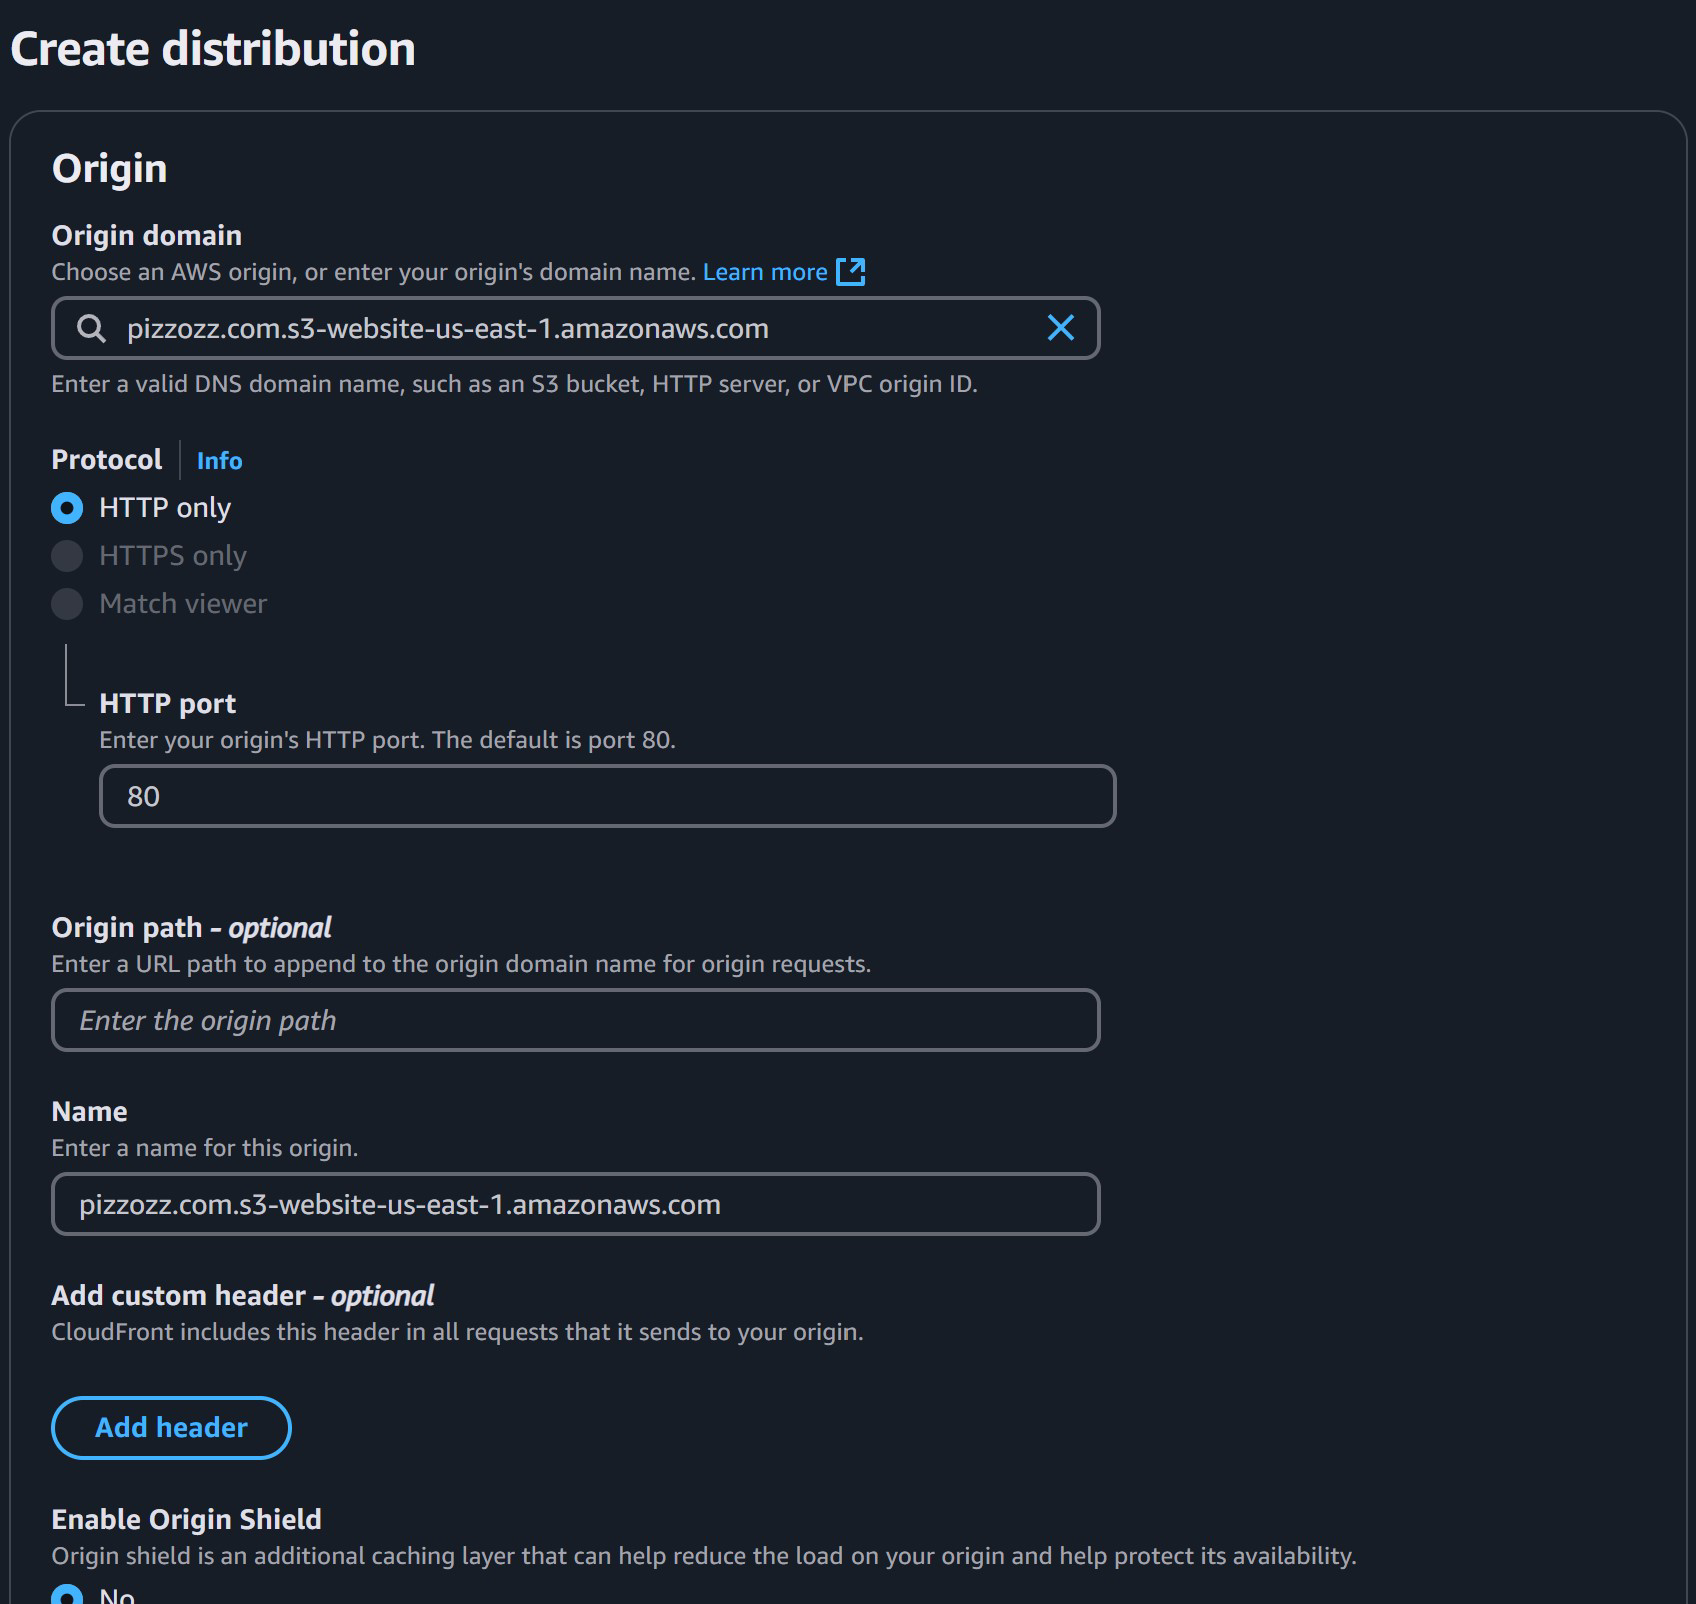
For the next part under “origin domain” select your s3 website. The one that has s3-website on it, but no worries, AWS will show you a warning if you pick the incorrect one.
For this part choose “redirect HTTP to HTTPS”

Everything stays like this here
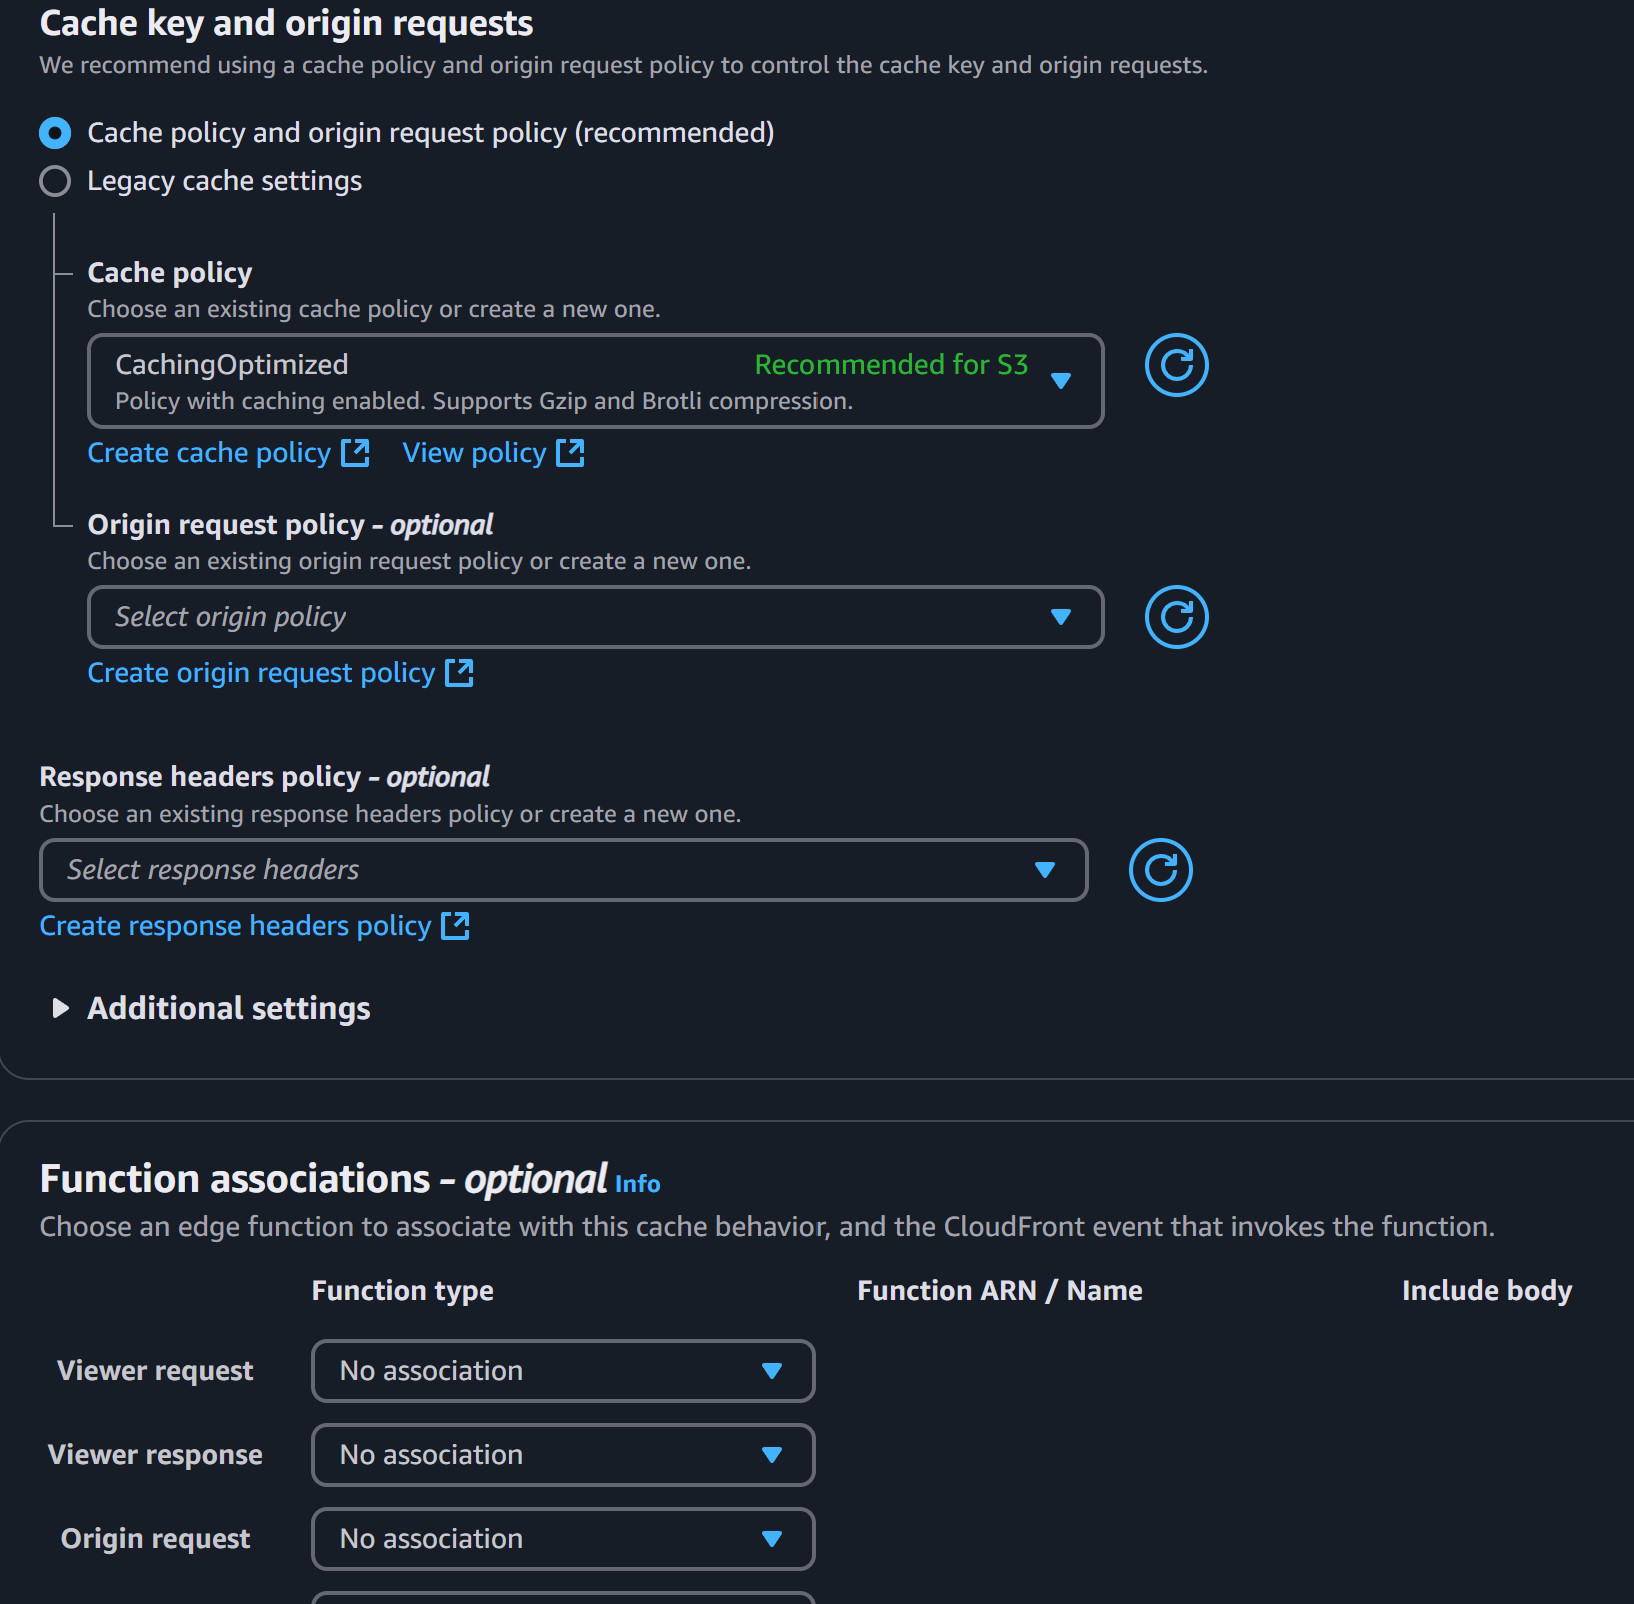
Same here
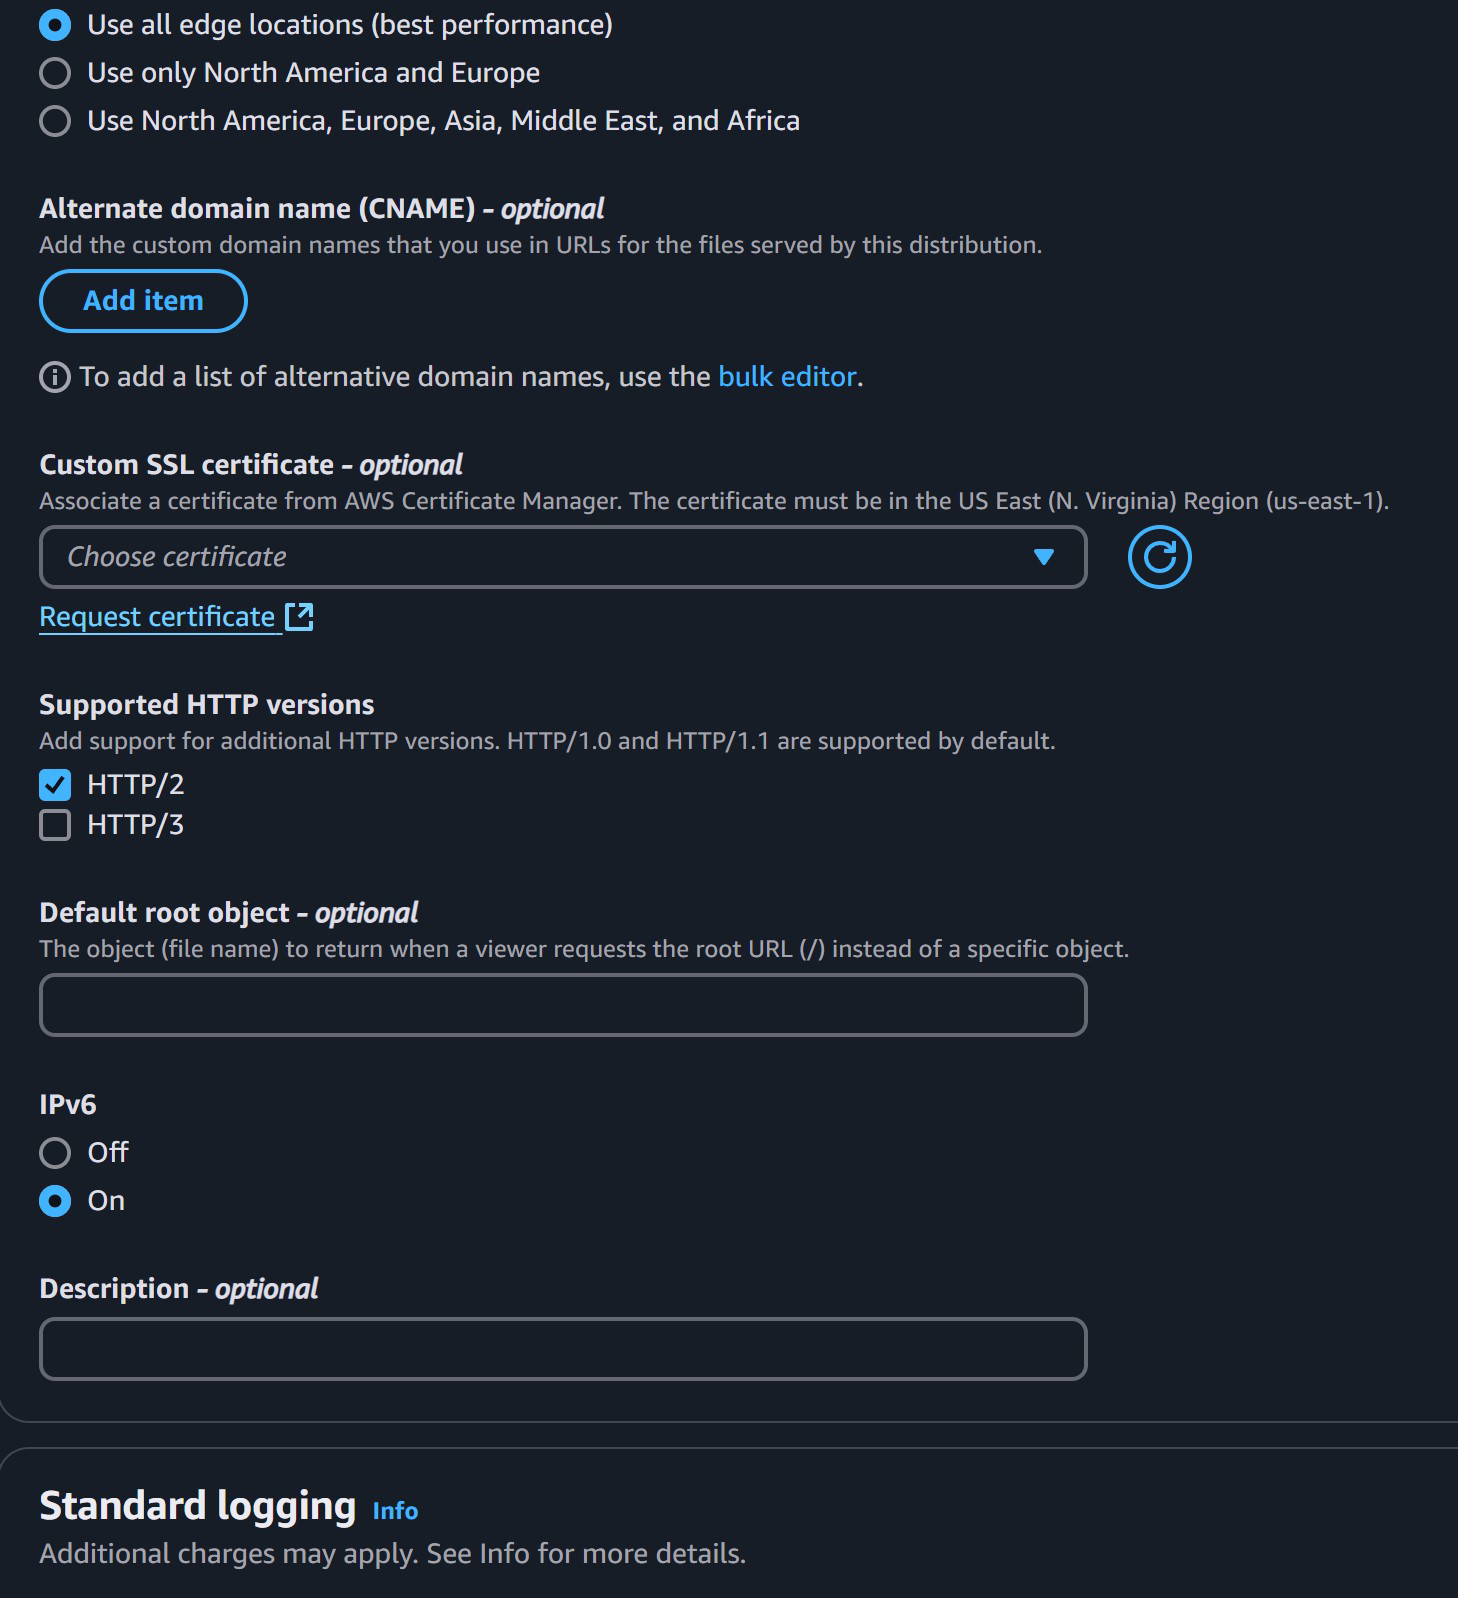
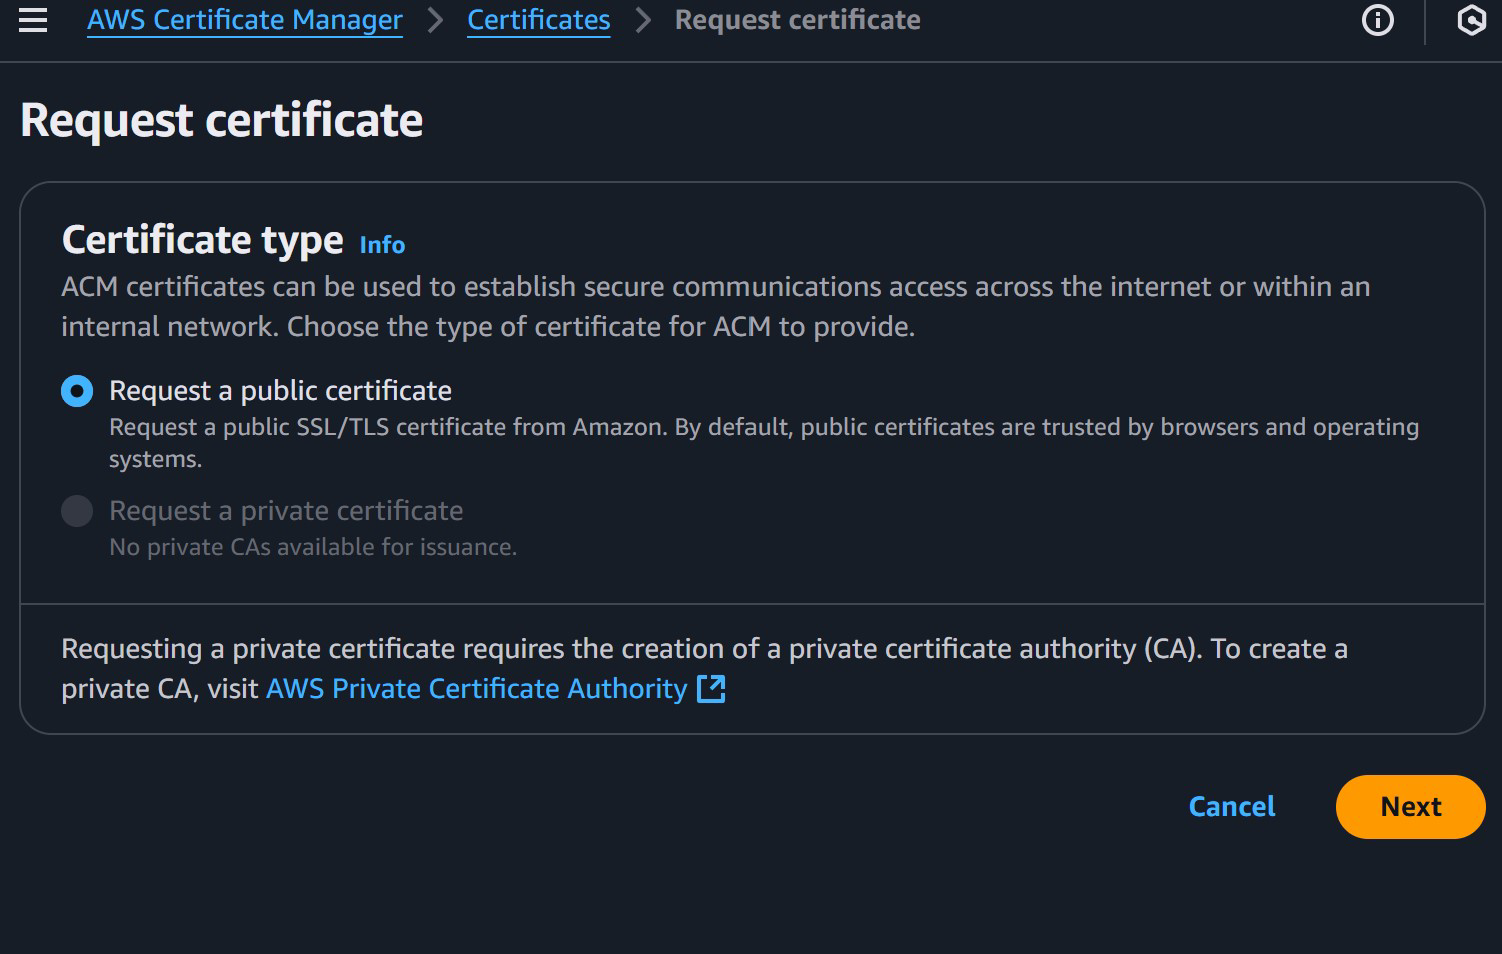
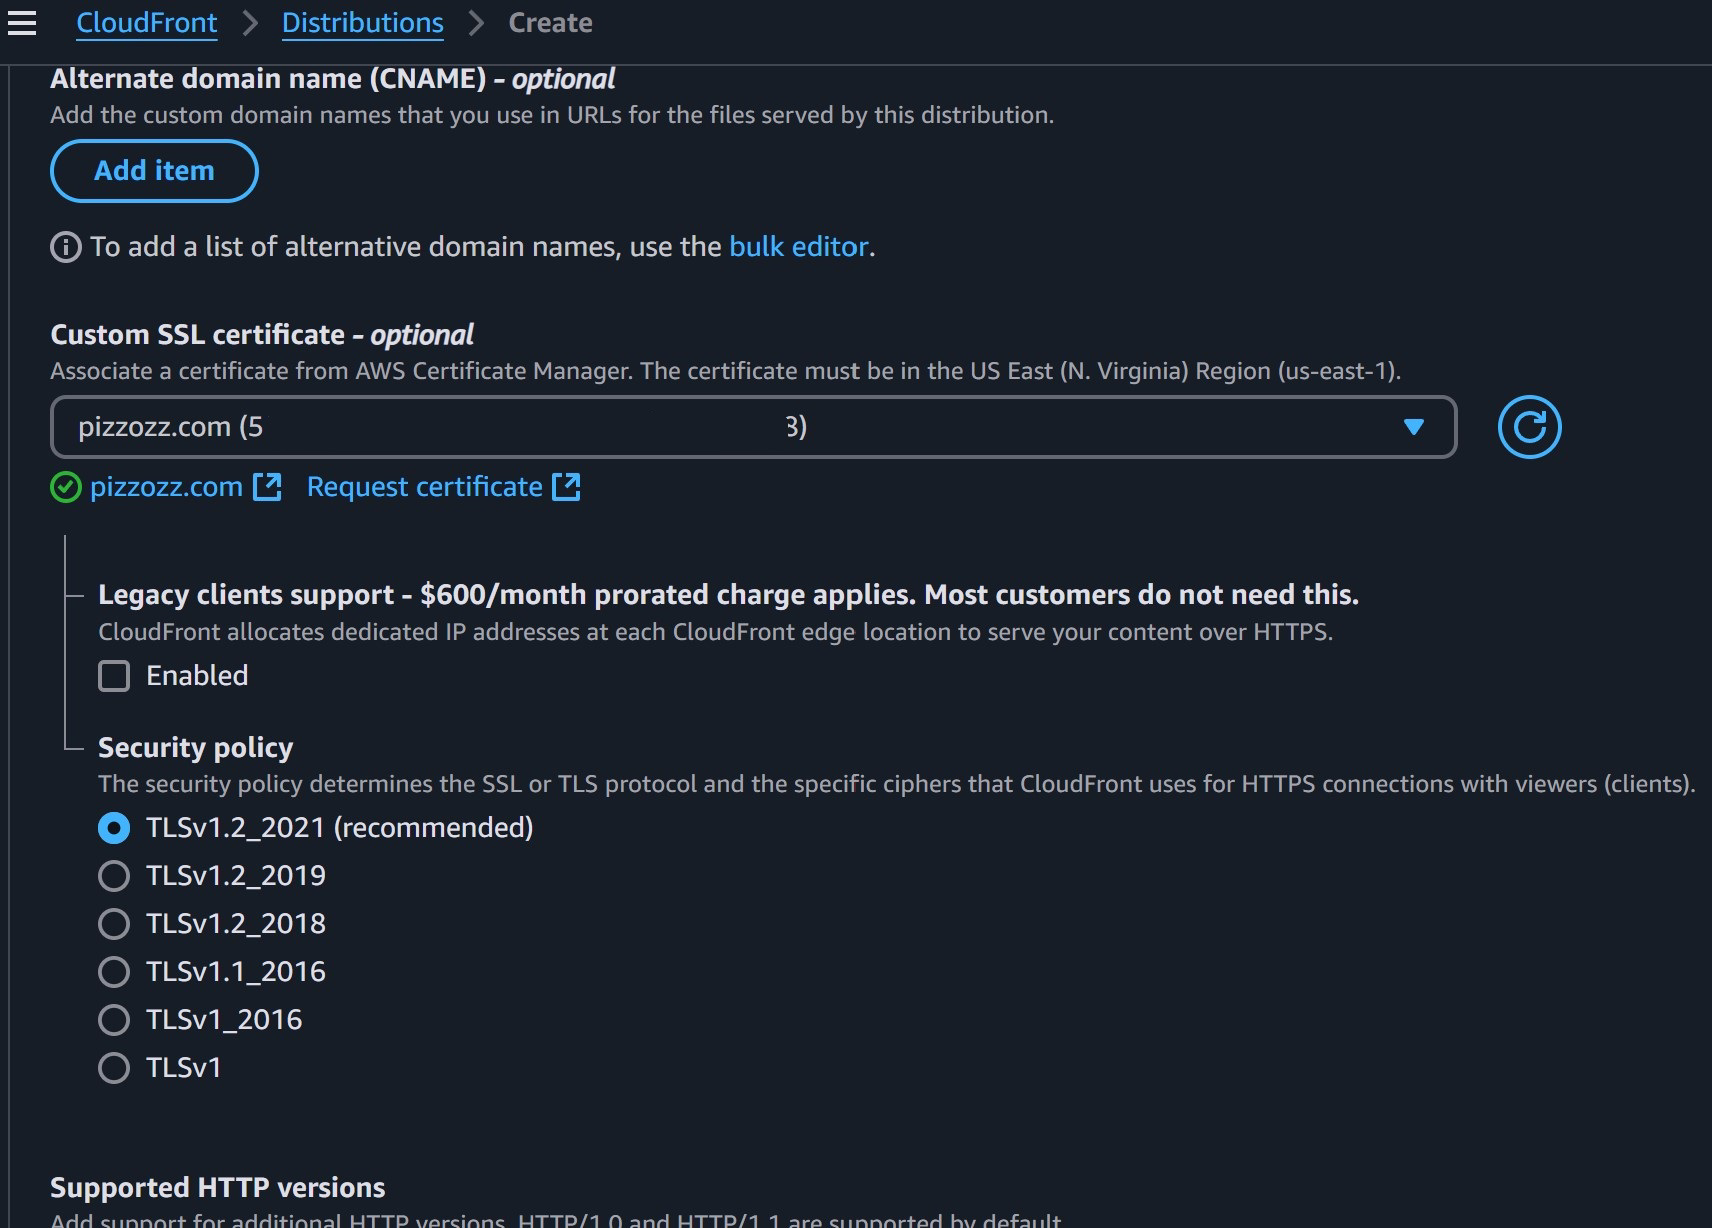
Now for this part! Here we are going to create our own certificate. That’s what makes this stuff HTTPS! So click on that blue “Request Certificate” link which will open a new window/tab.
Click next
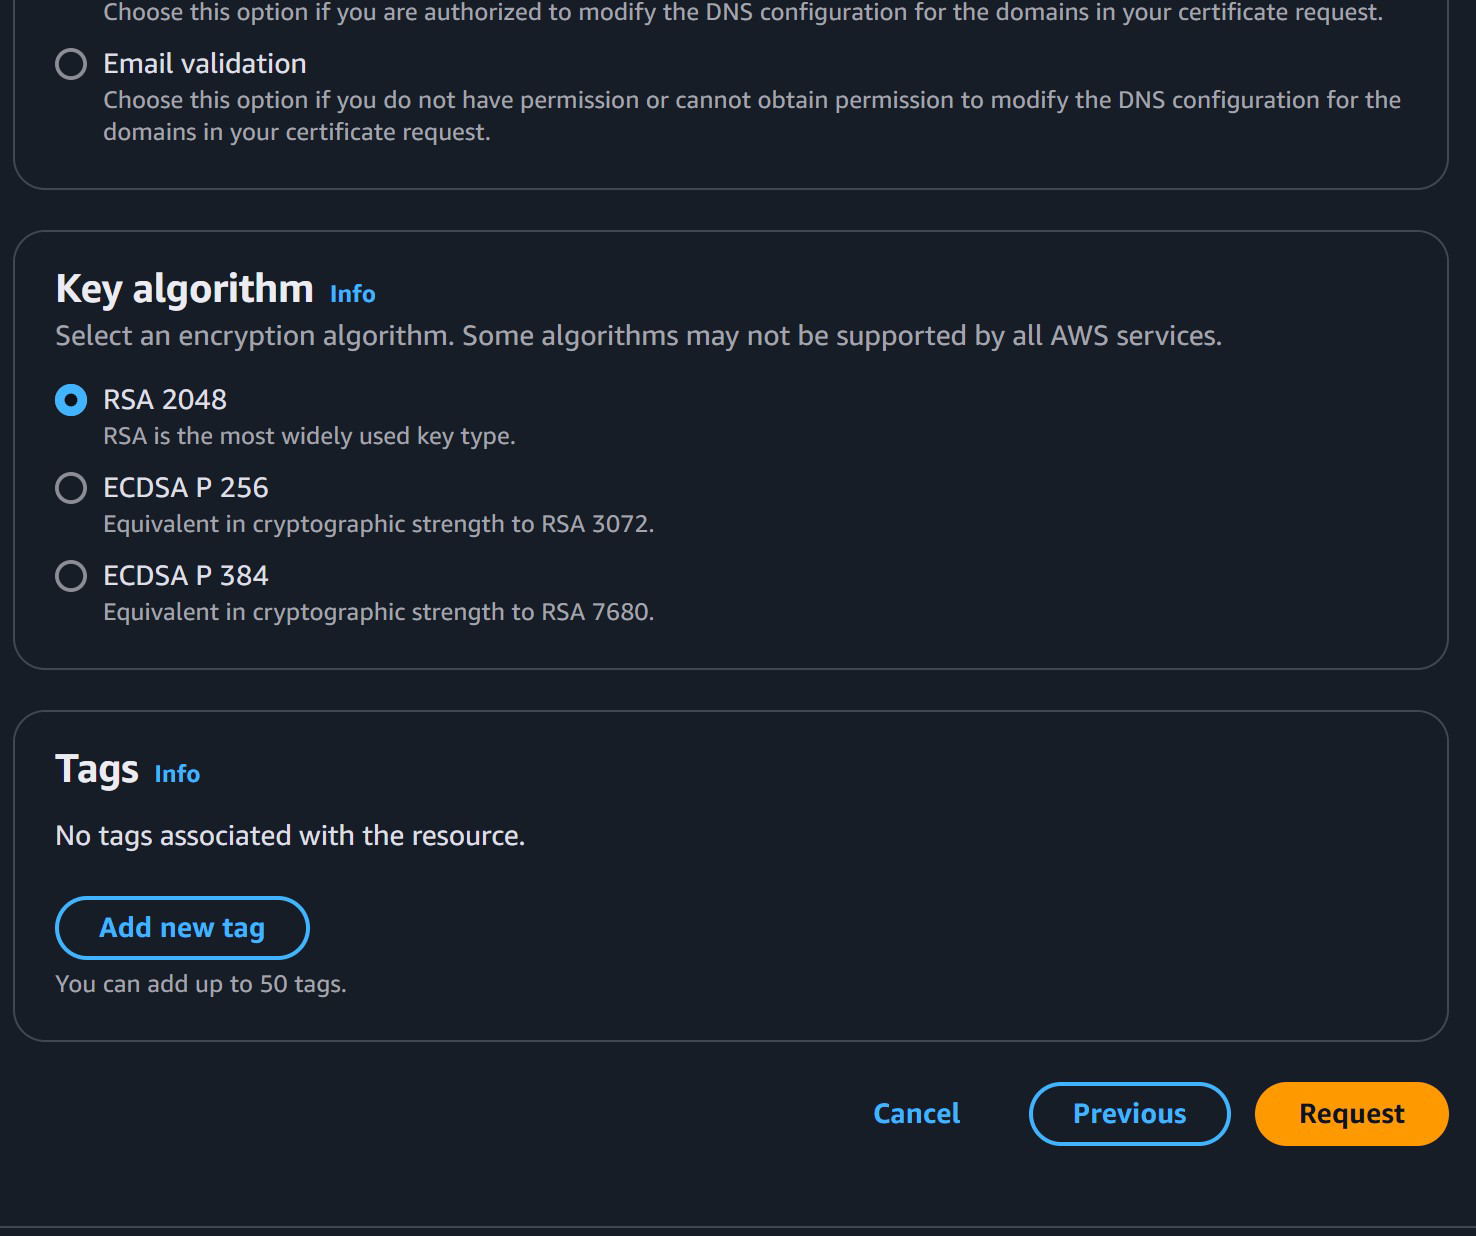
Here we want to add both pizzozz.com AND www.pizzozz.com
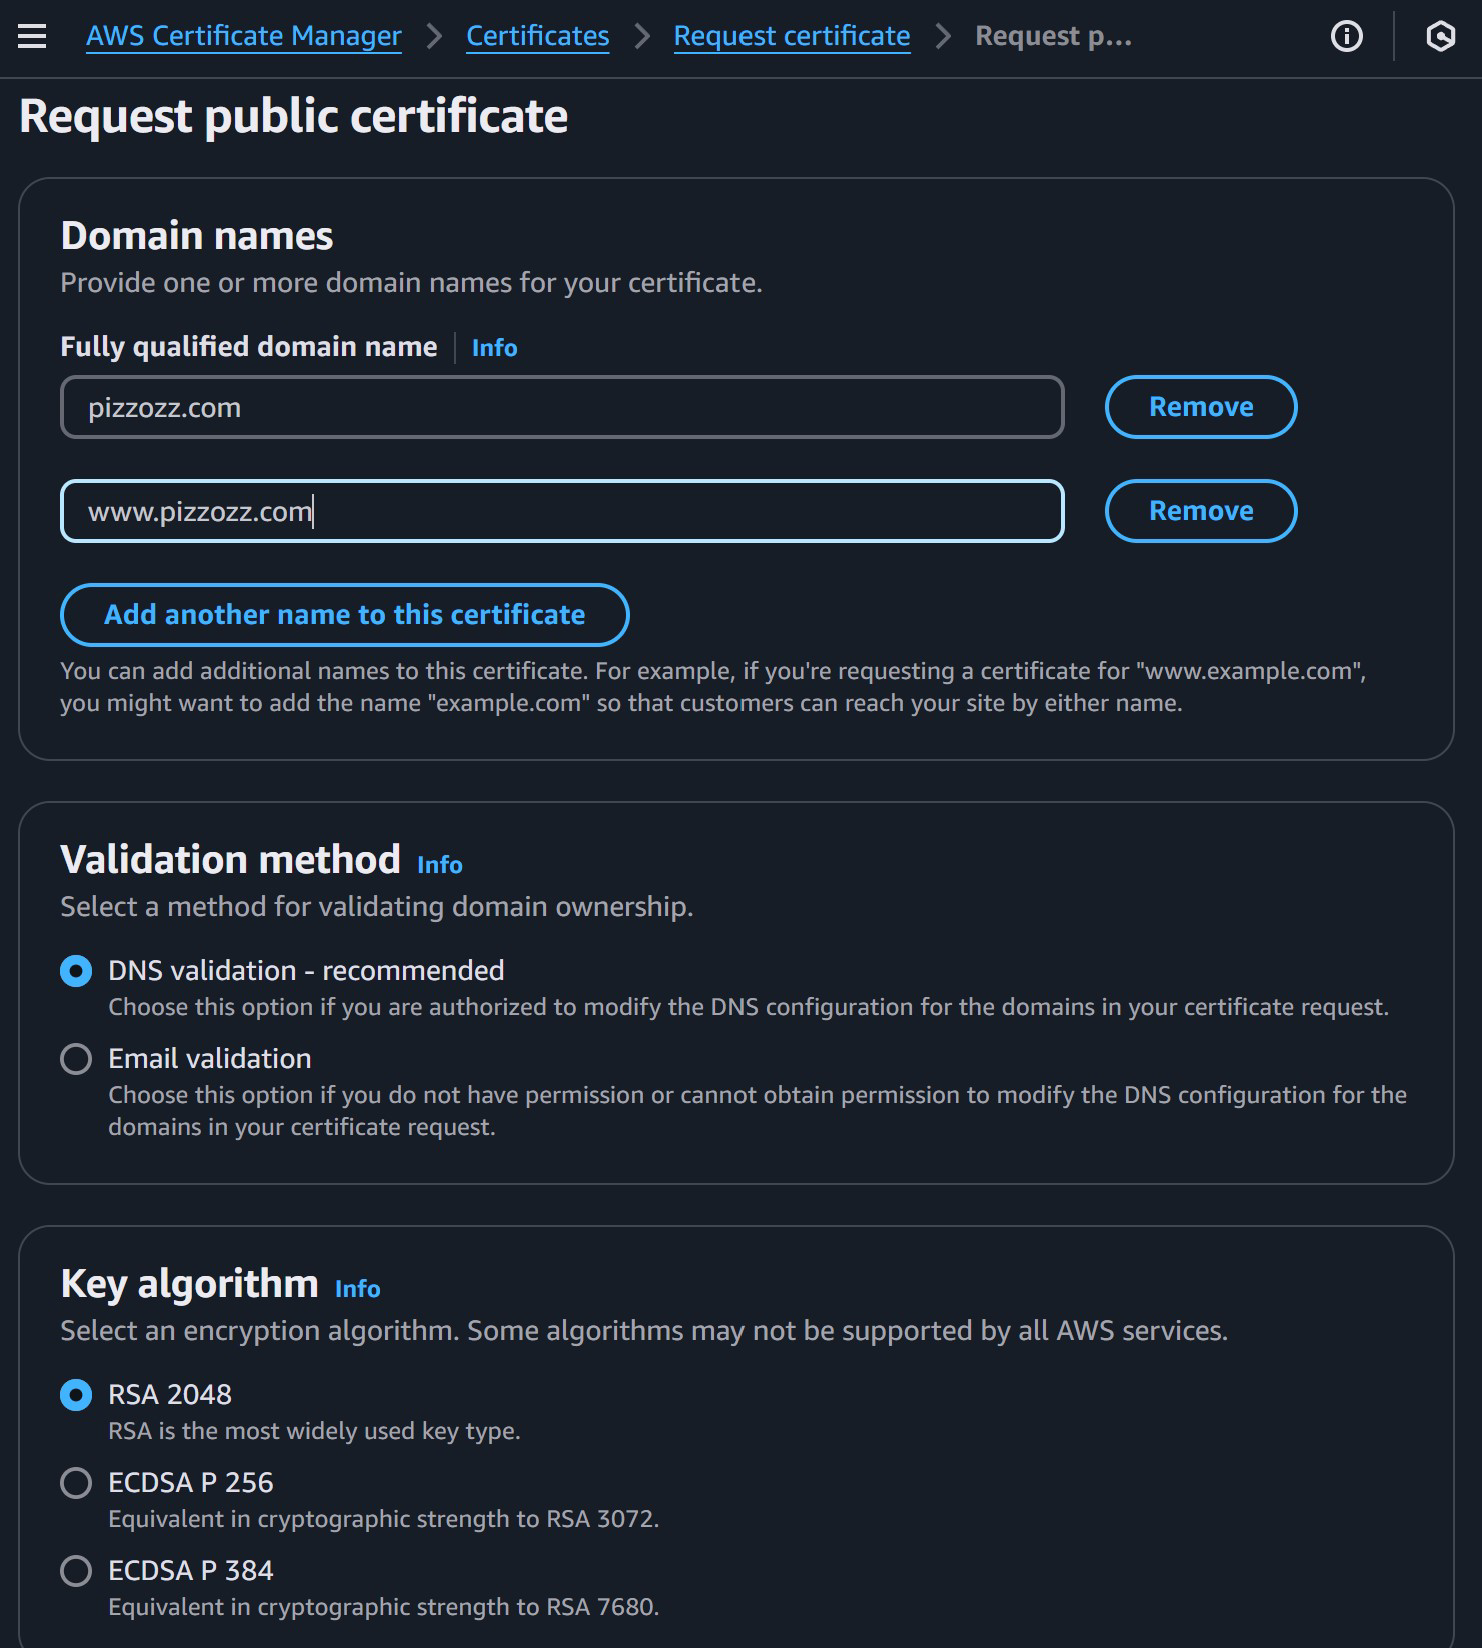
Then just hit request
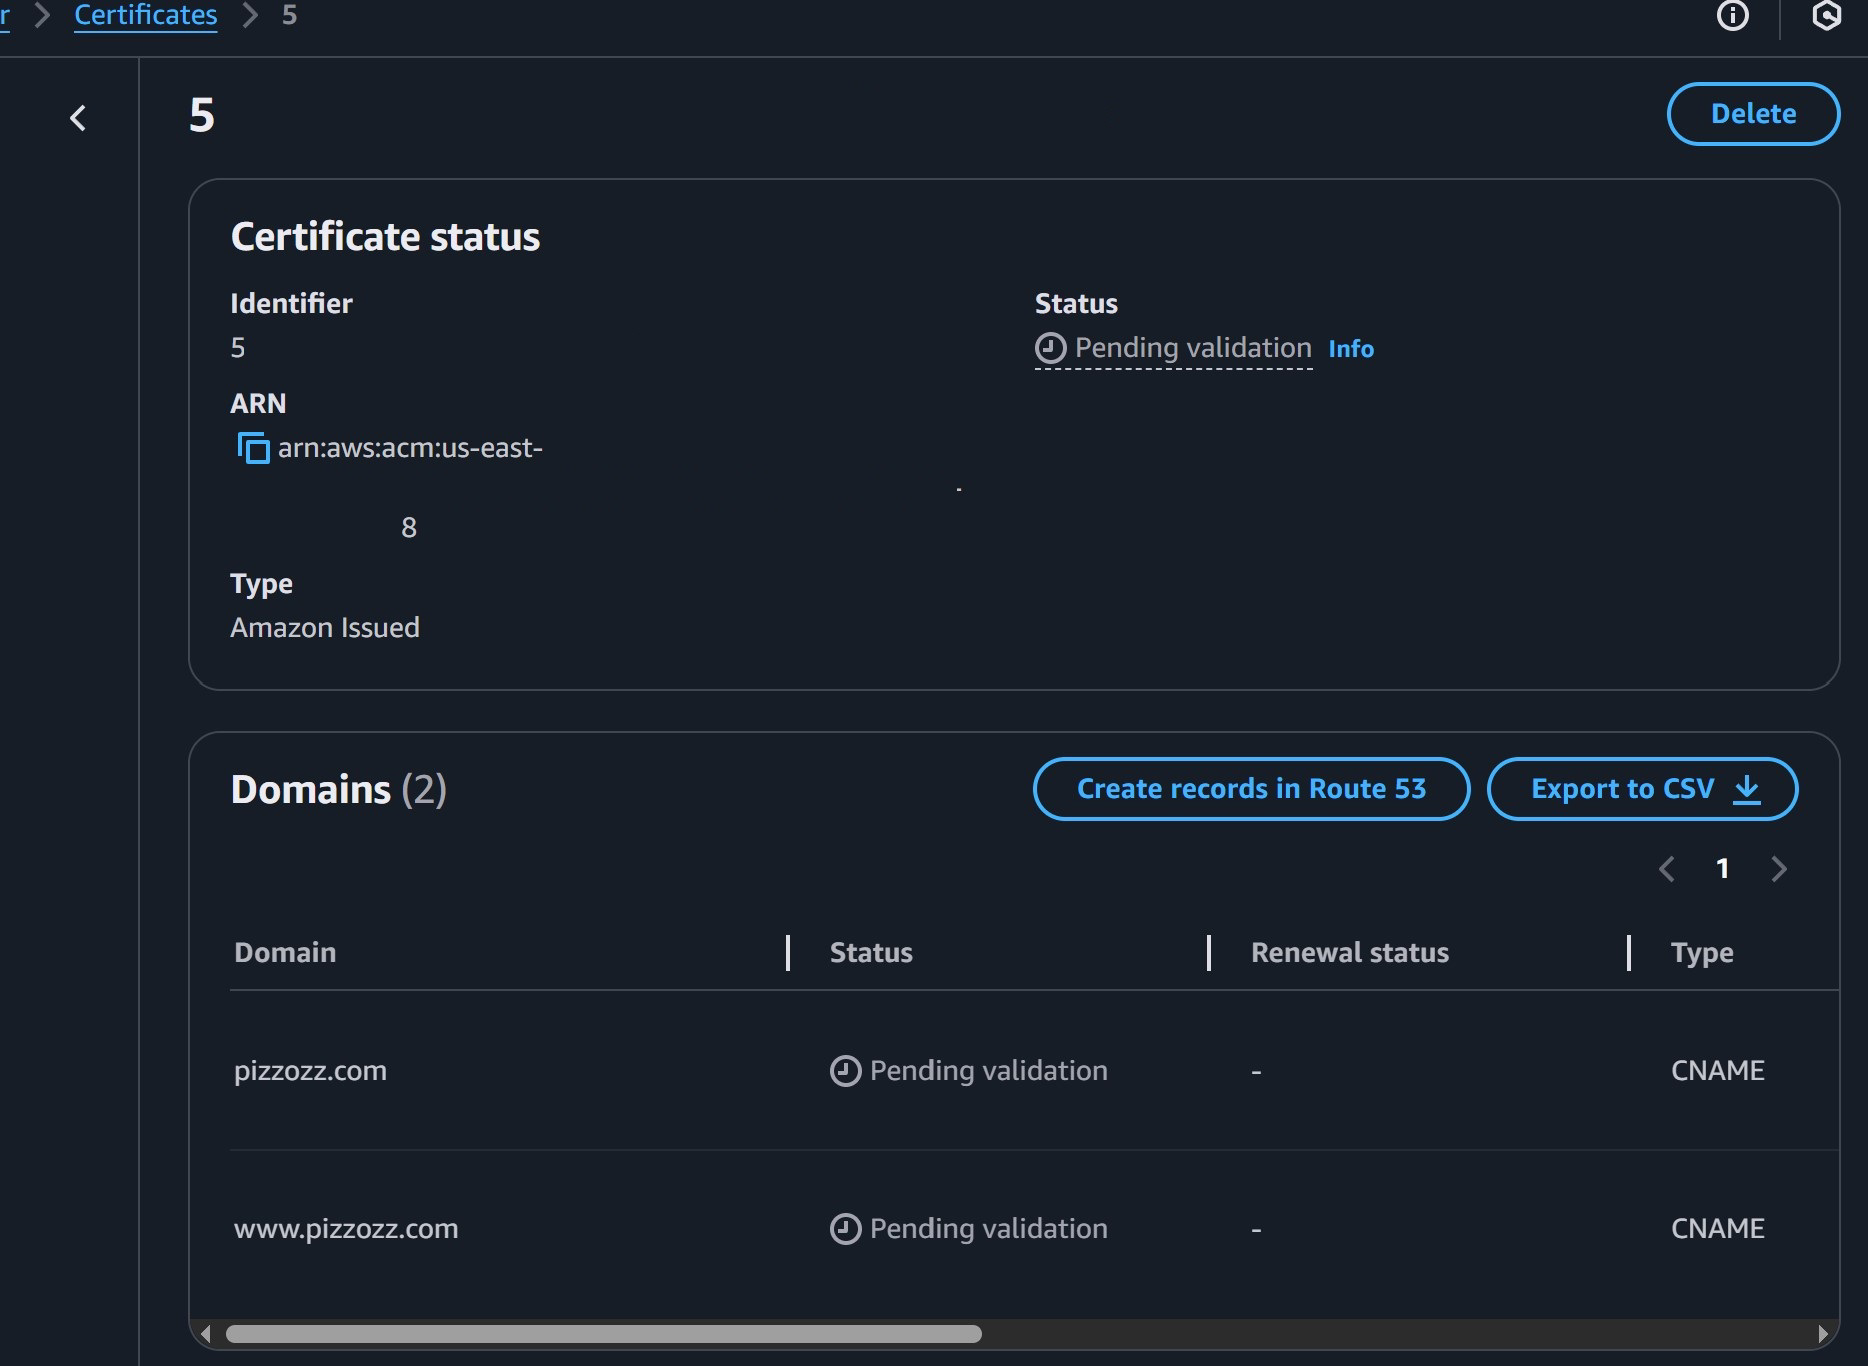
Now it’s going to say “pending”
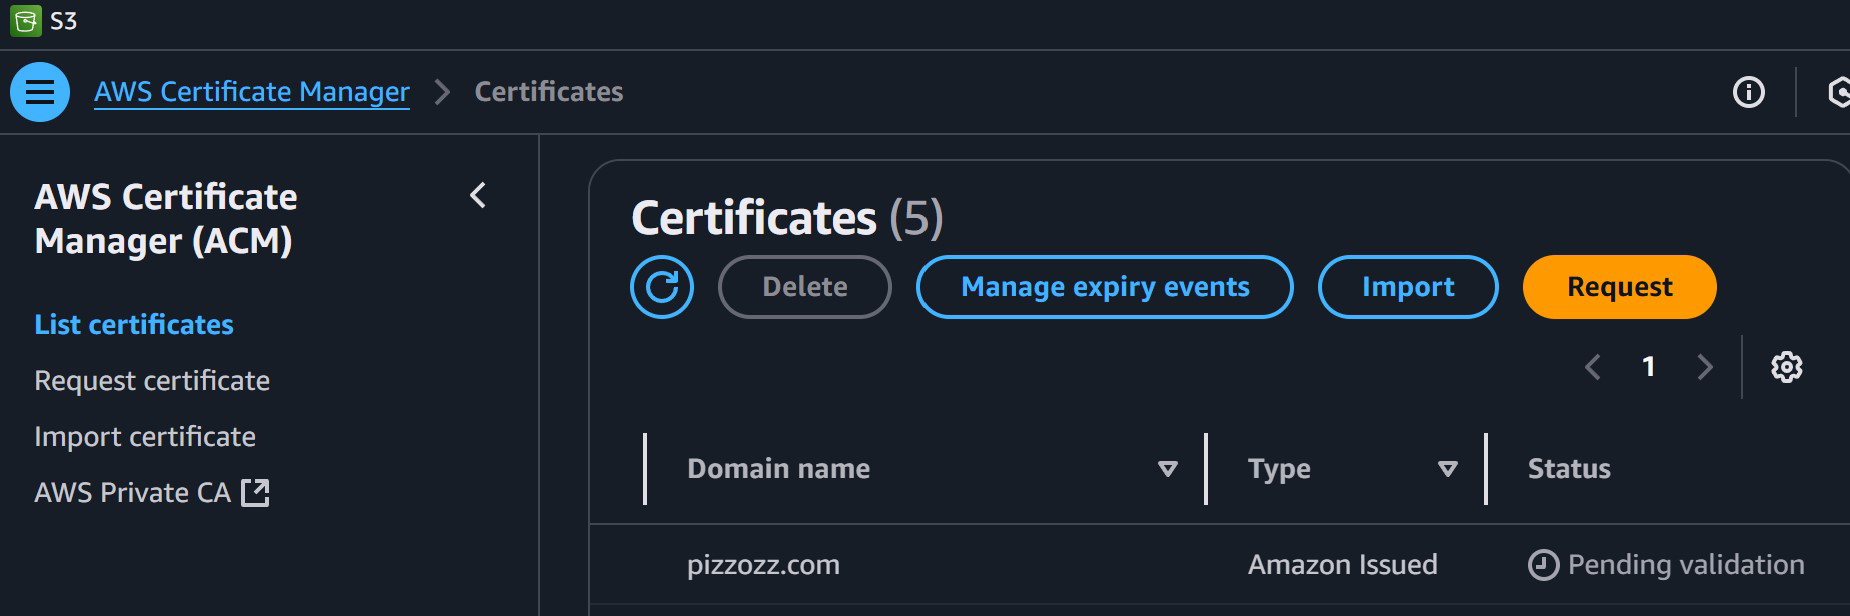
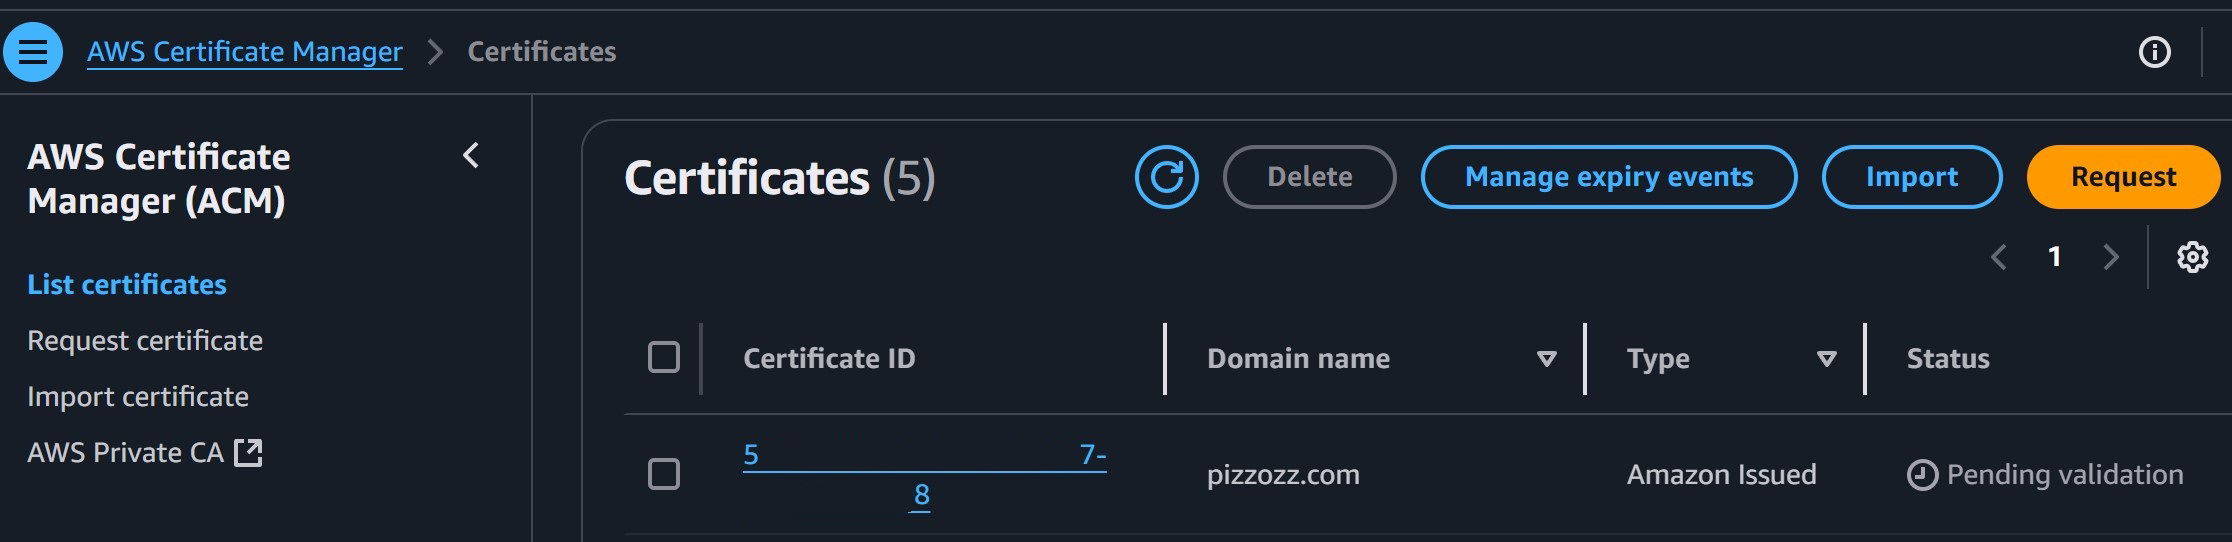
But we actually want to go back to the Certificate manager screen where we can see the “Certificate ID” and then click on that ID
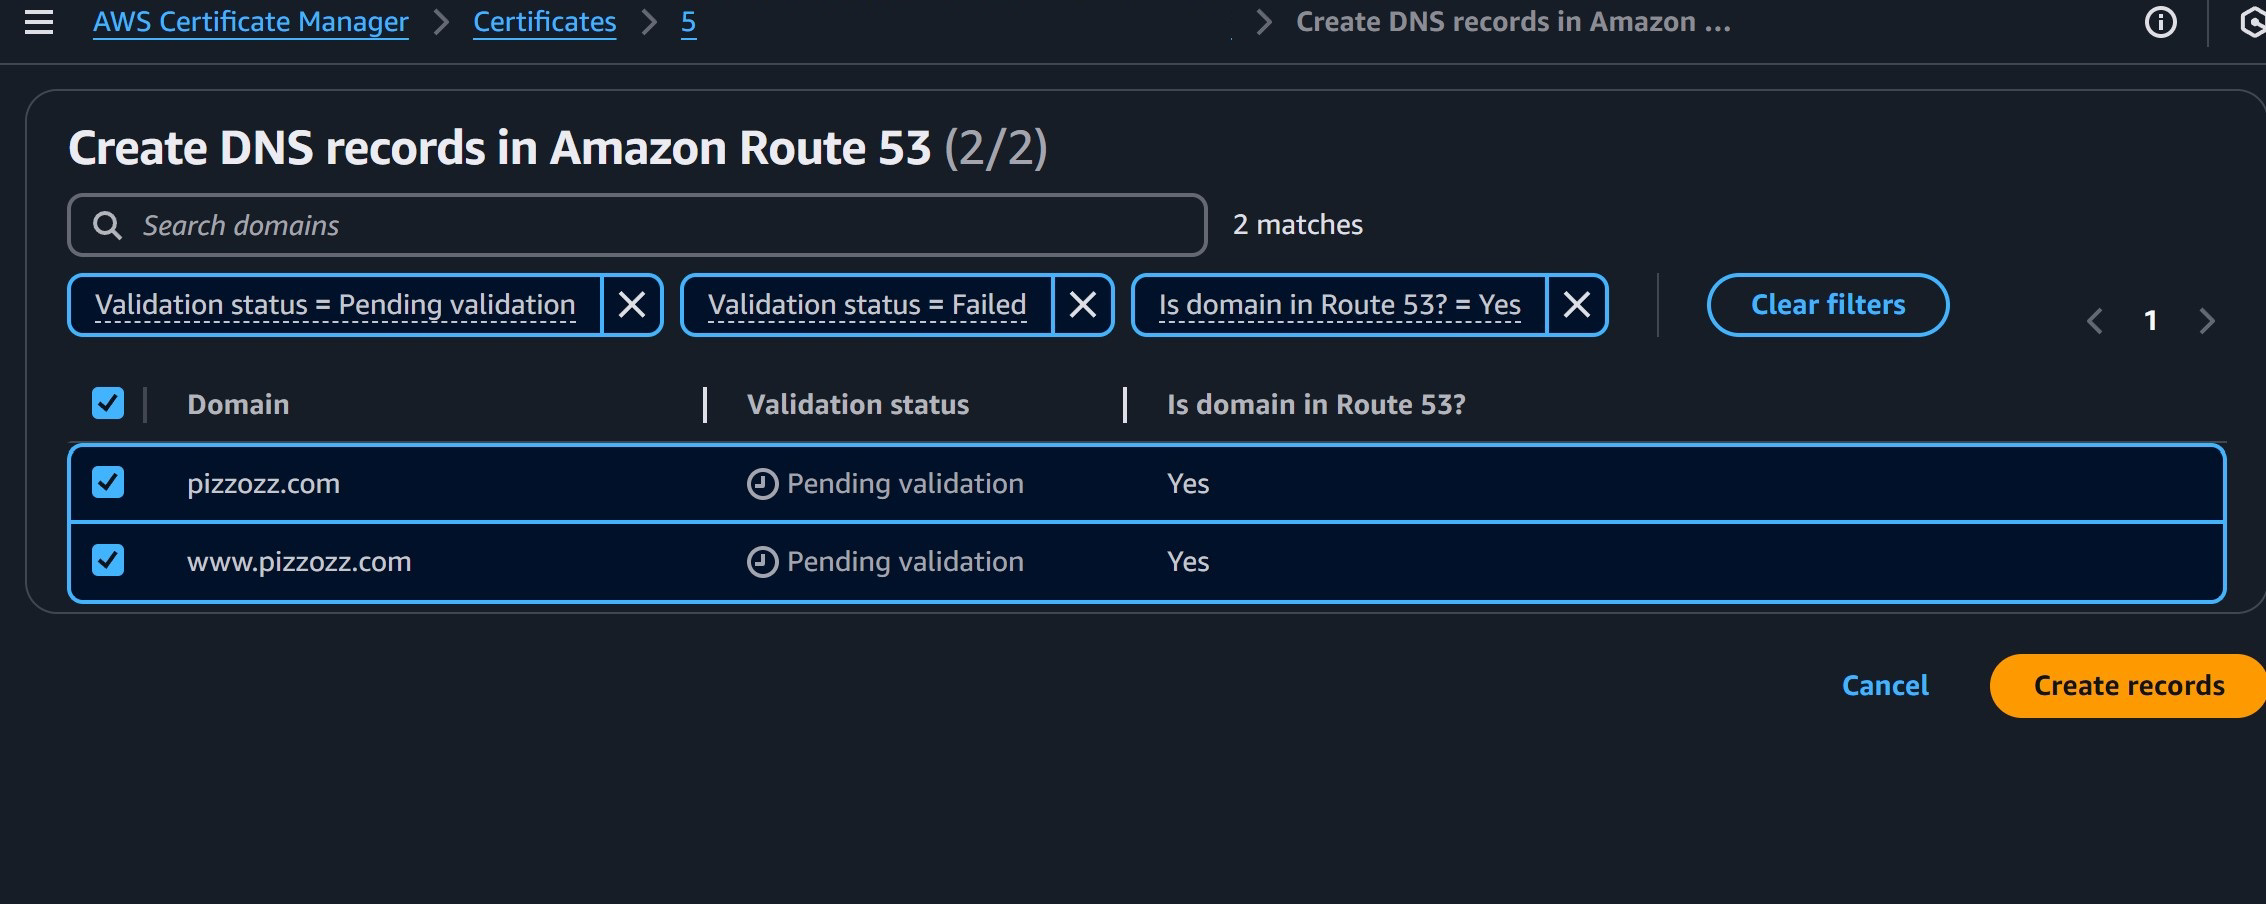
This next step is basically us “Verifying” the certificate by saying, “Why! Yes! I do own this website!” by creating some other records in Route 53.
Thankfully AWS has done this for us so we can just hit the “Create records in route 53” button
Then just hit “Create Records”
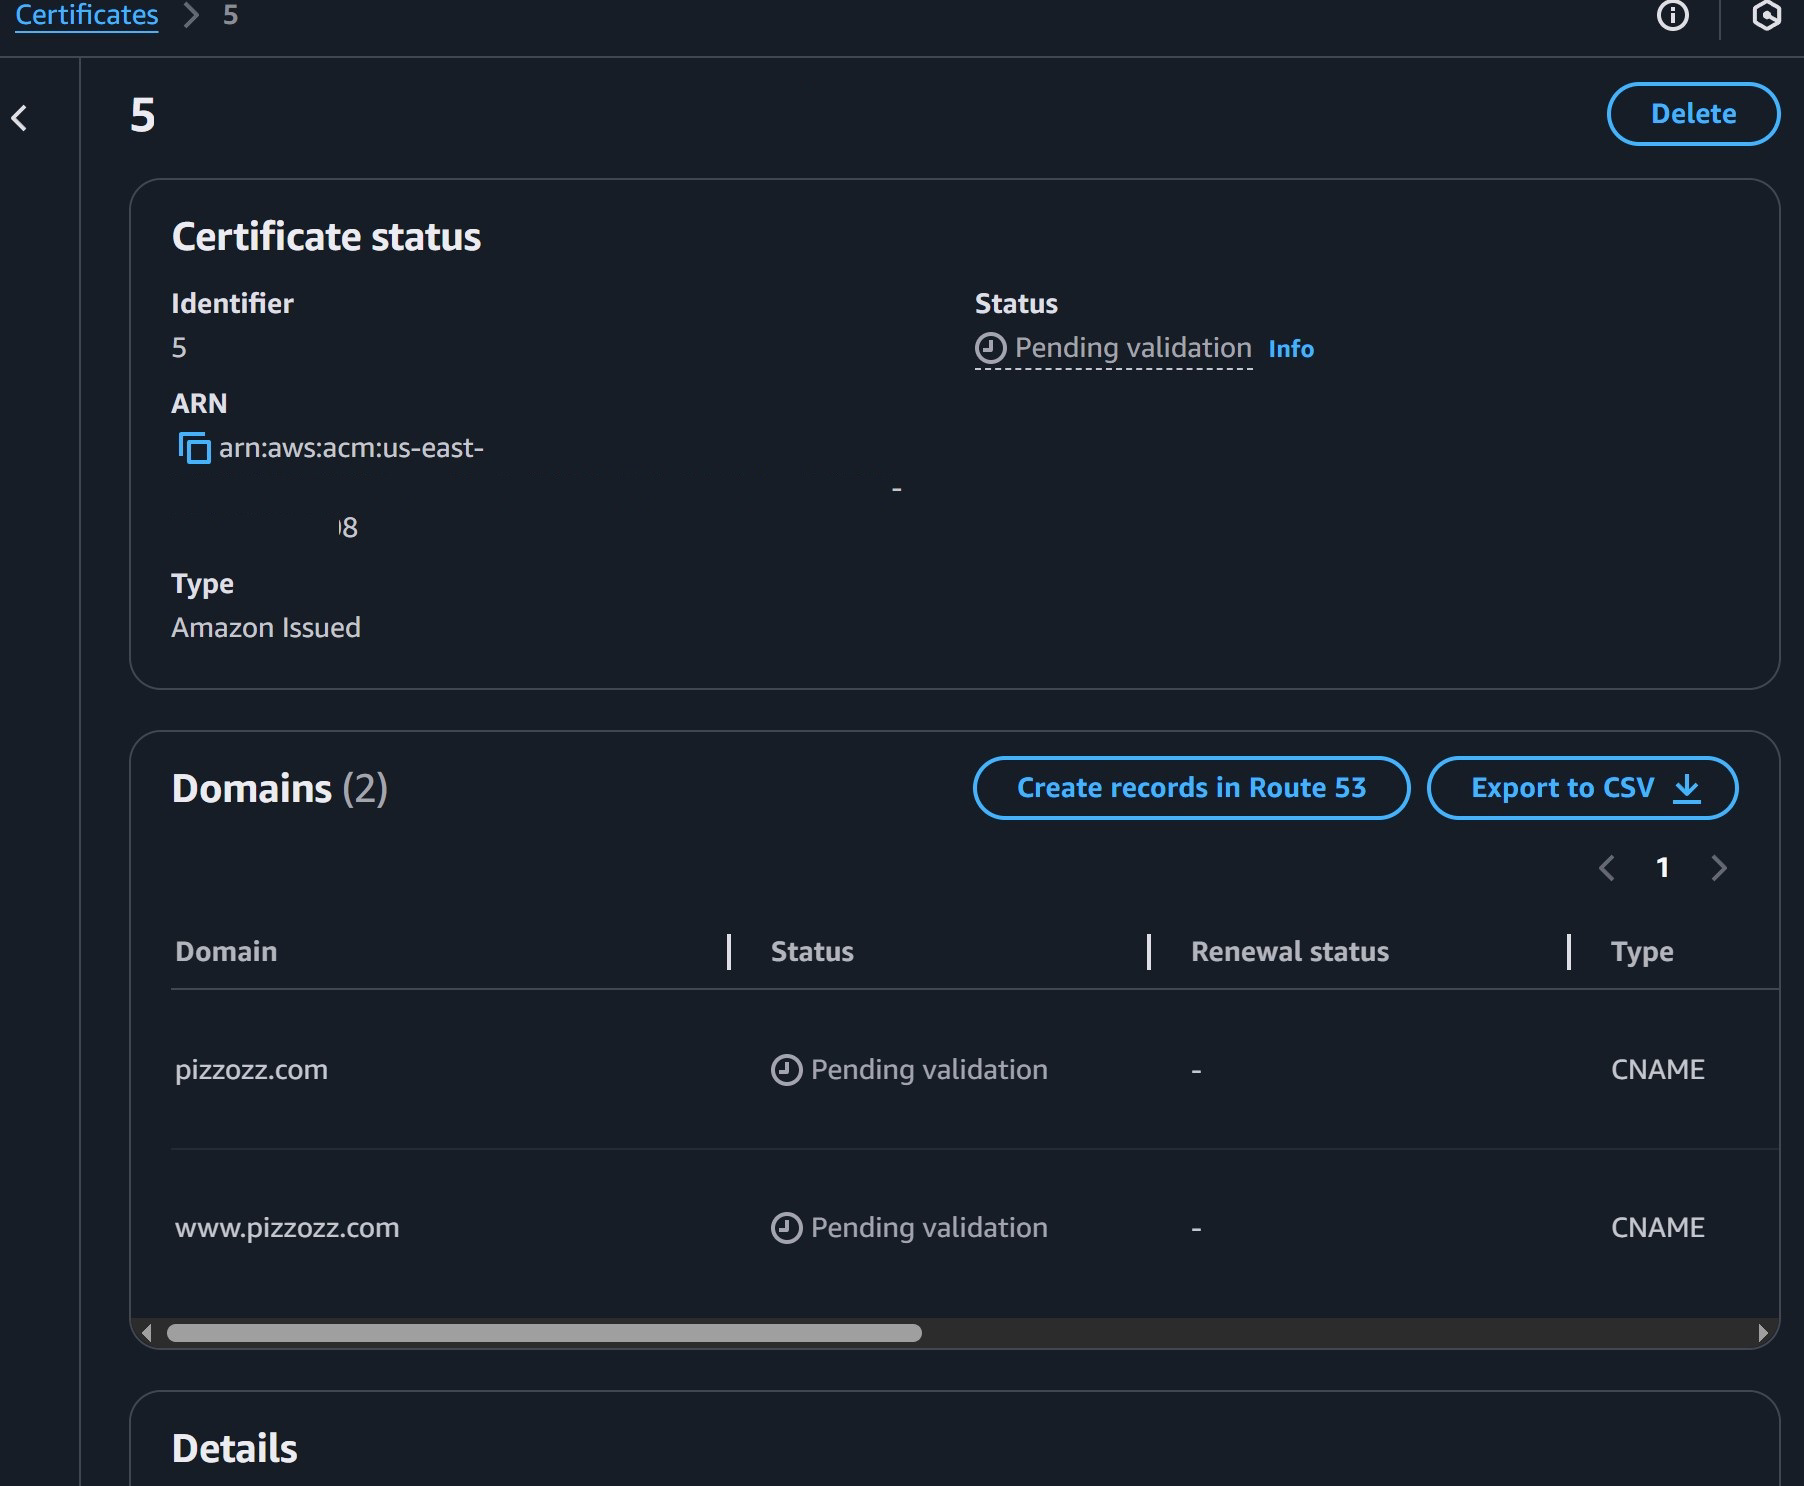
Then we’ll be taken back to the “pending validation” screen where it might take 5 minutes to A WHOLE HOUR! For this certificate to be verified.
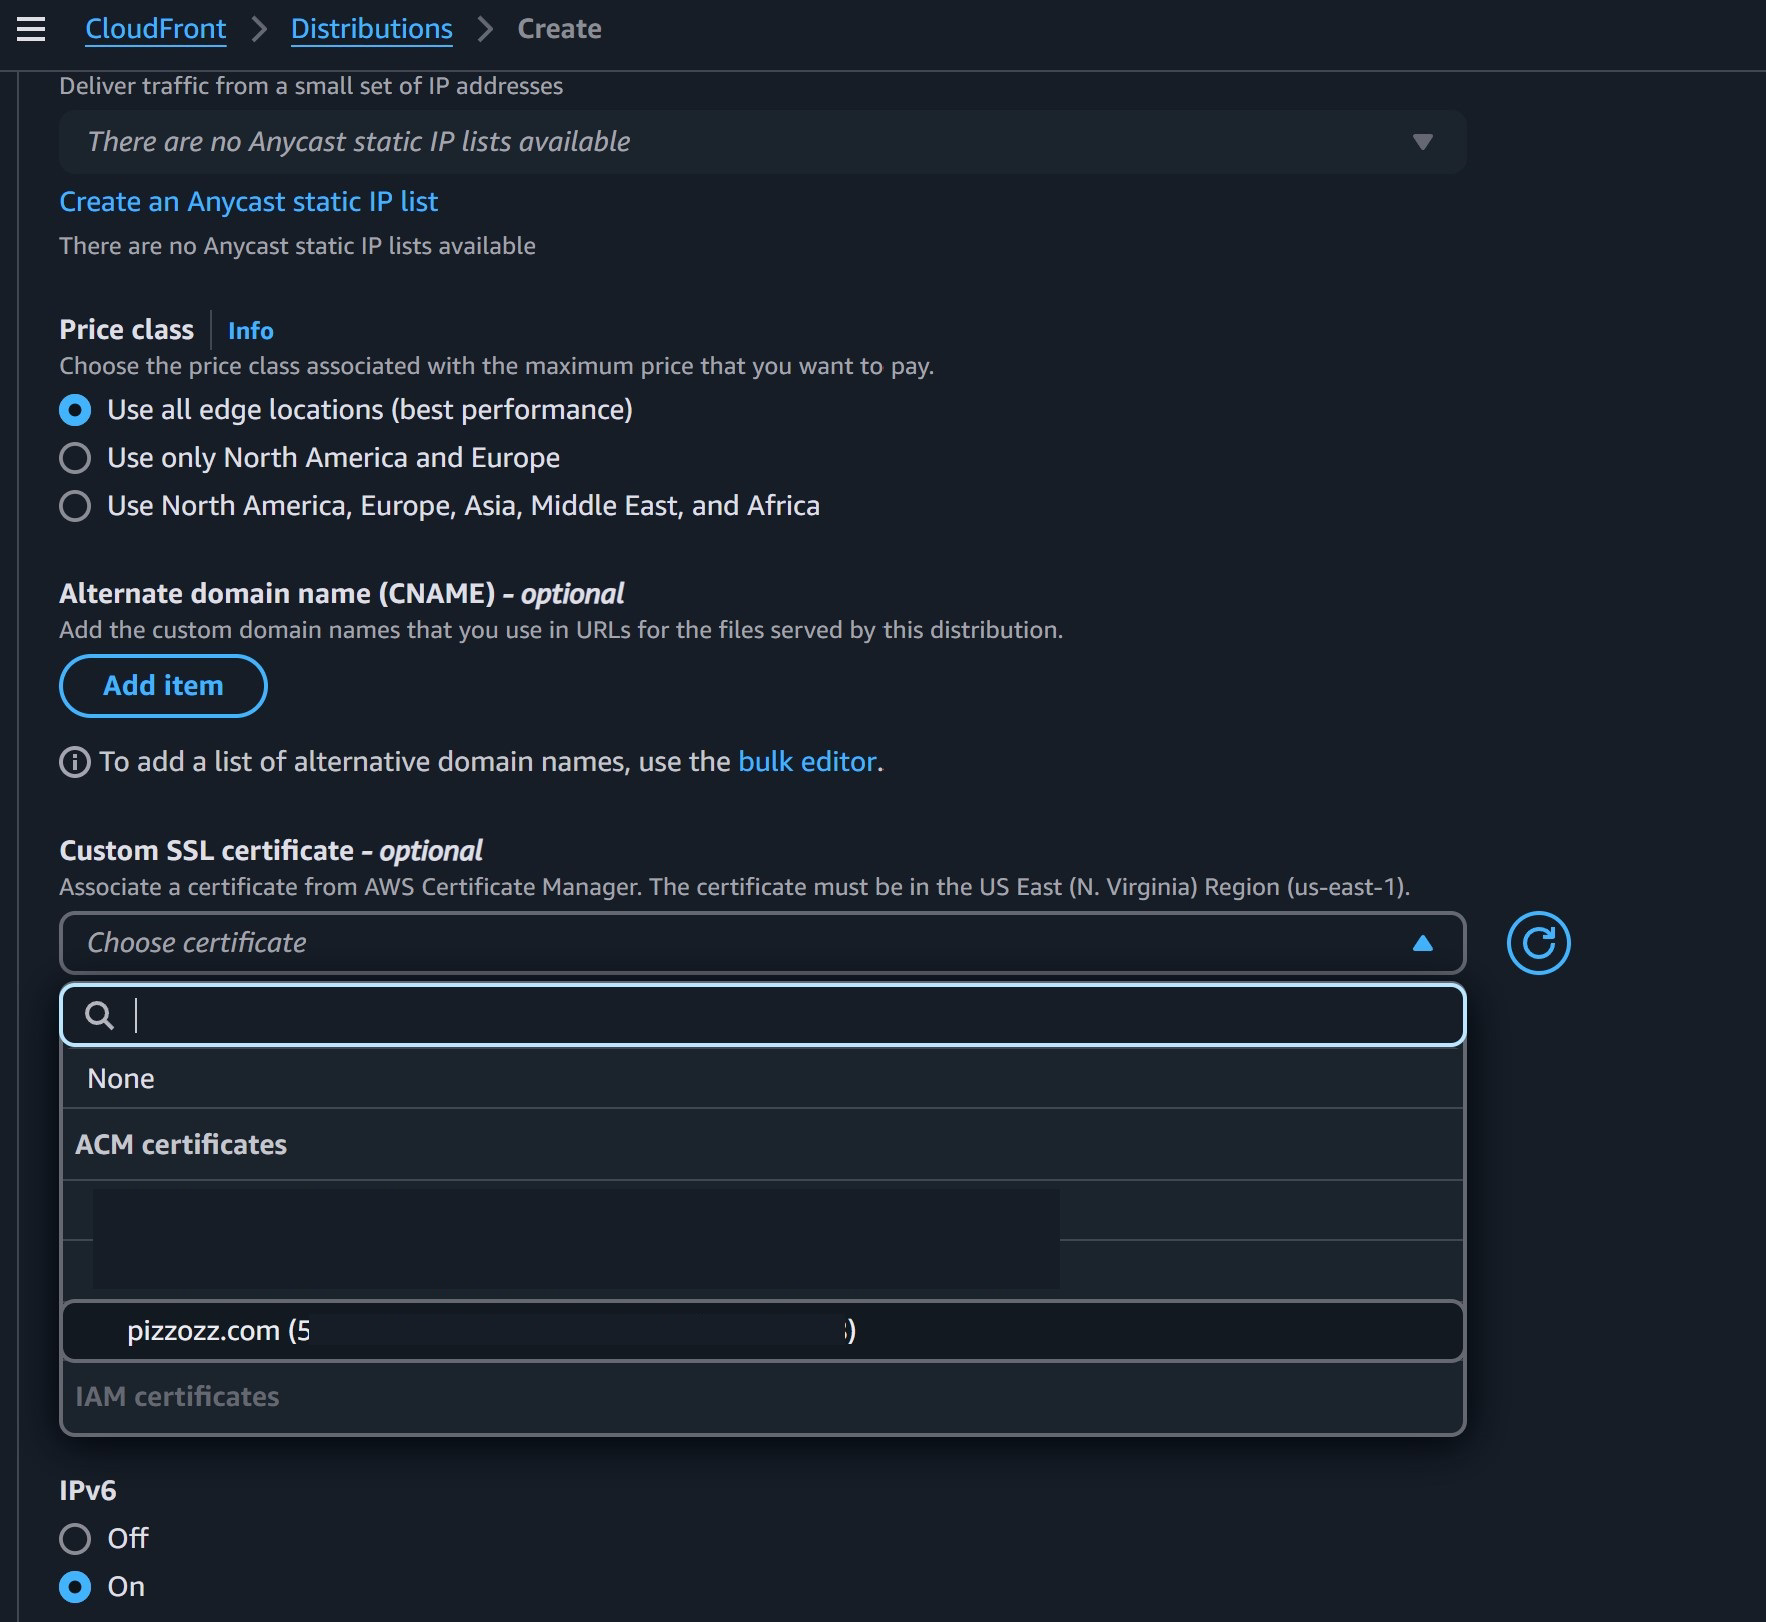
And when you get a green “Issued” and “success” we go back to our previous open window in CloudFront and after hitting that refresh arrow button to the right of “Choose Certificate”
Waa-blaaa! We can see our pizzozz certificate. So select that!
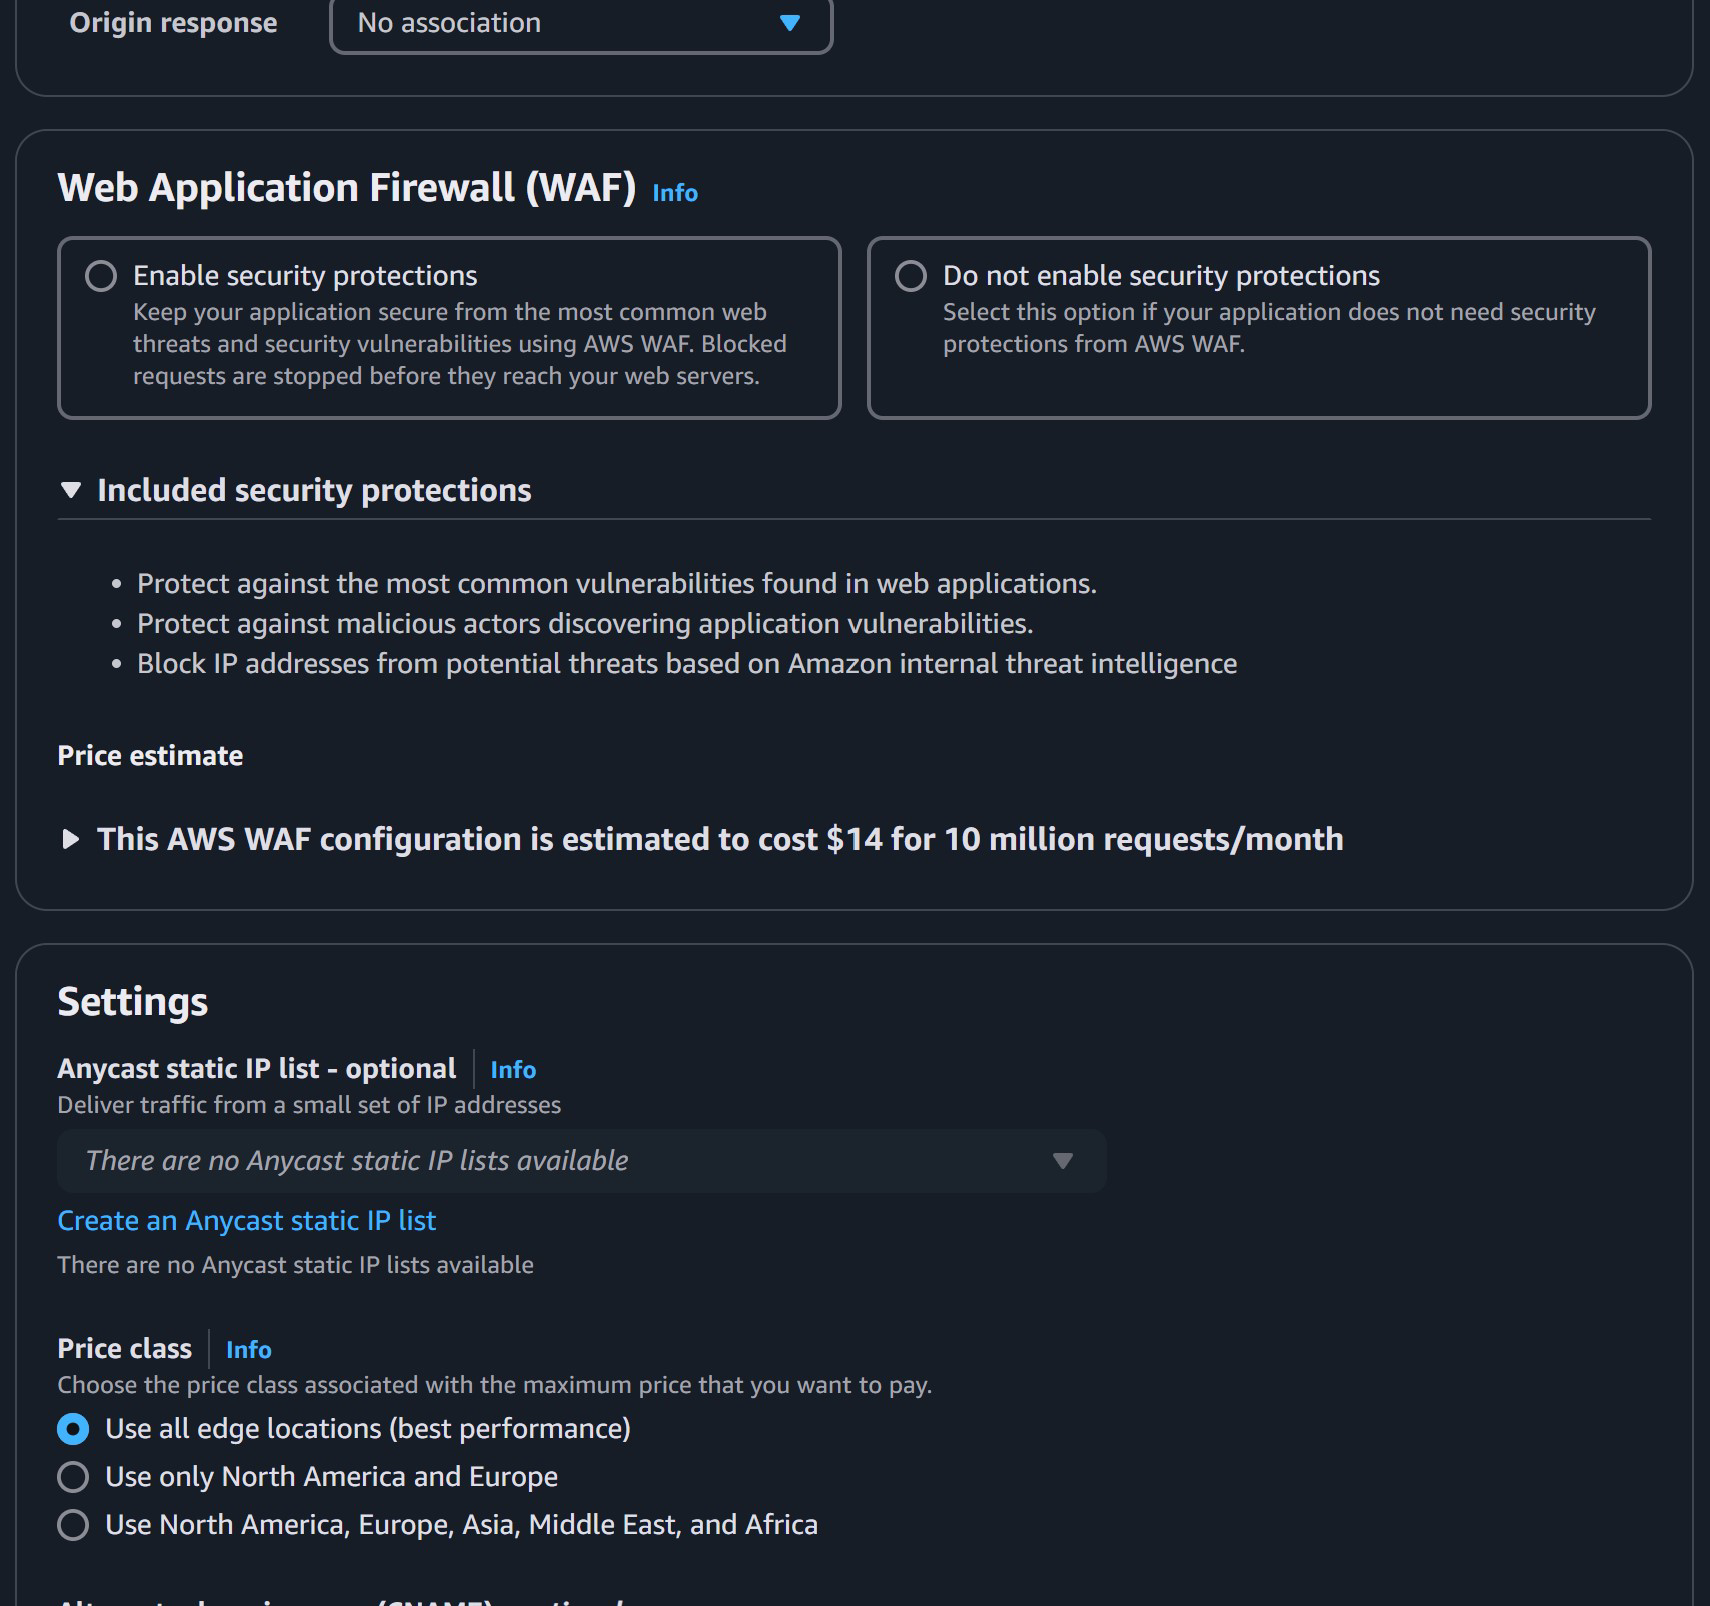
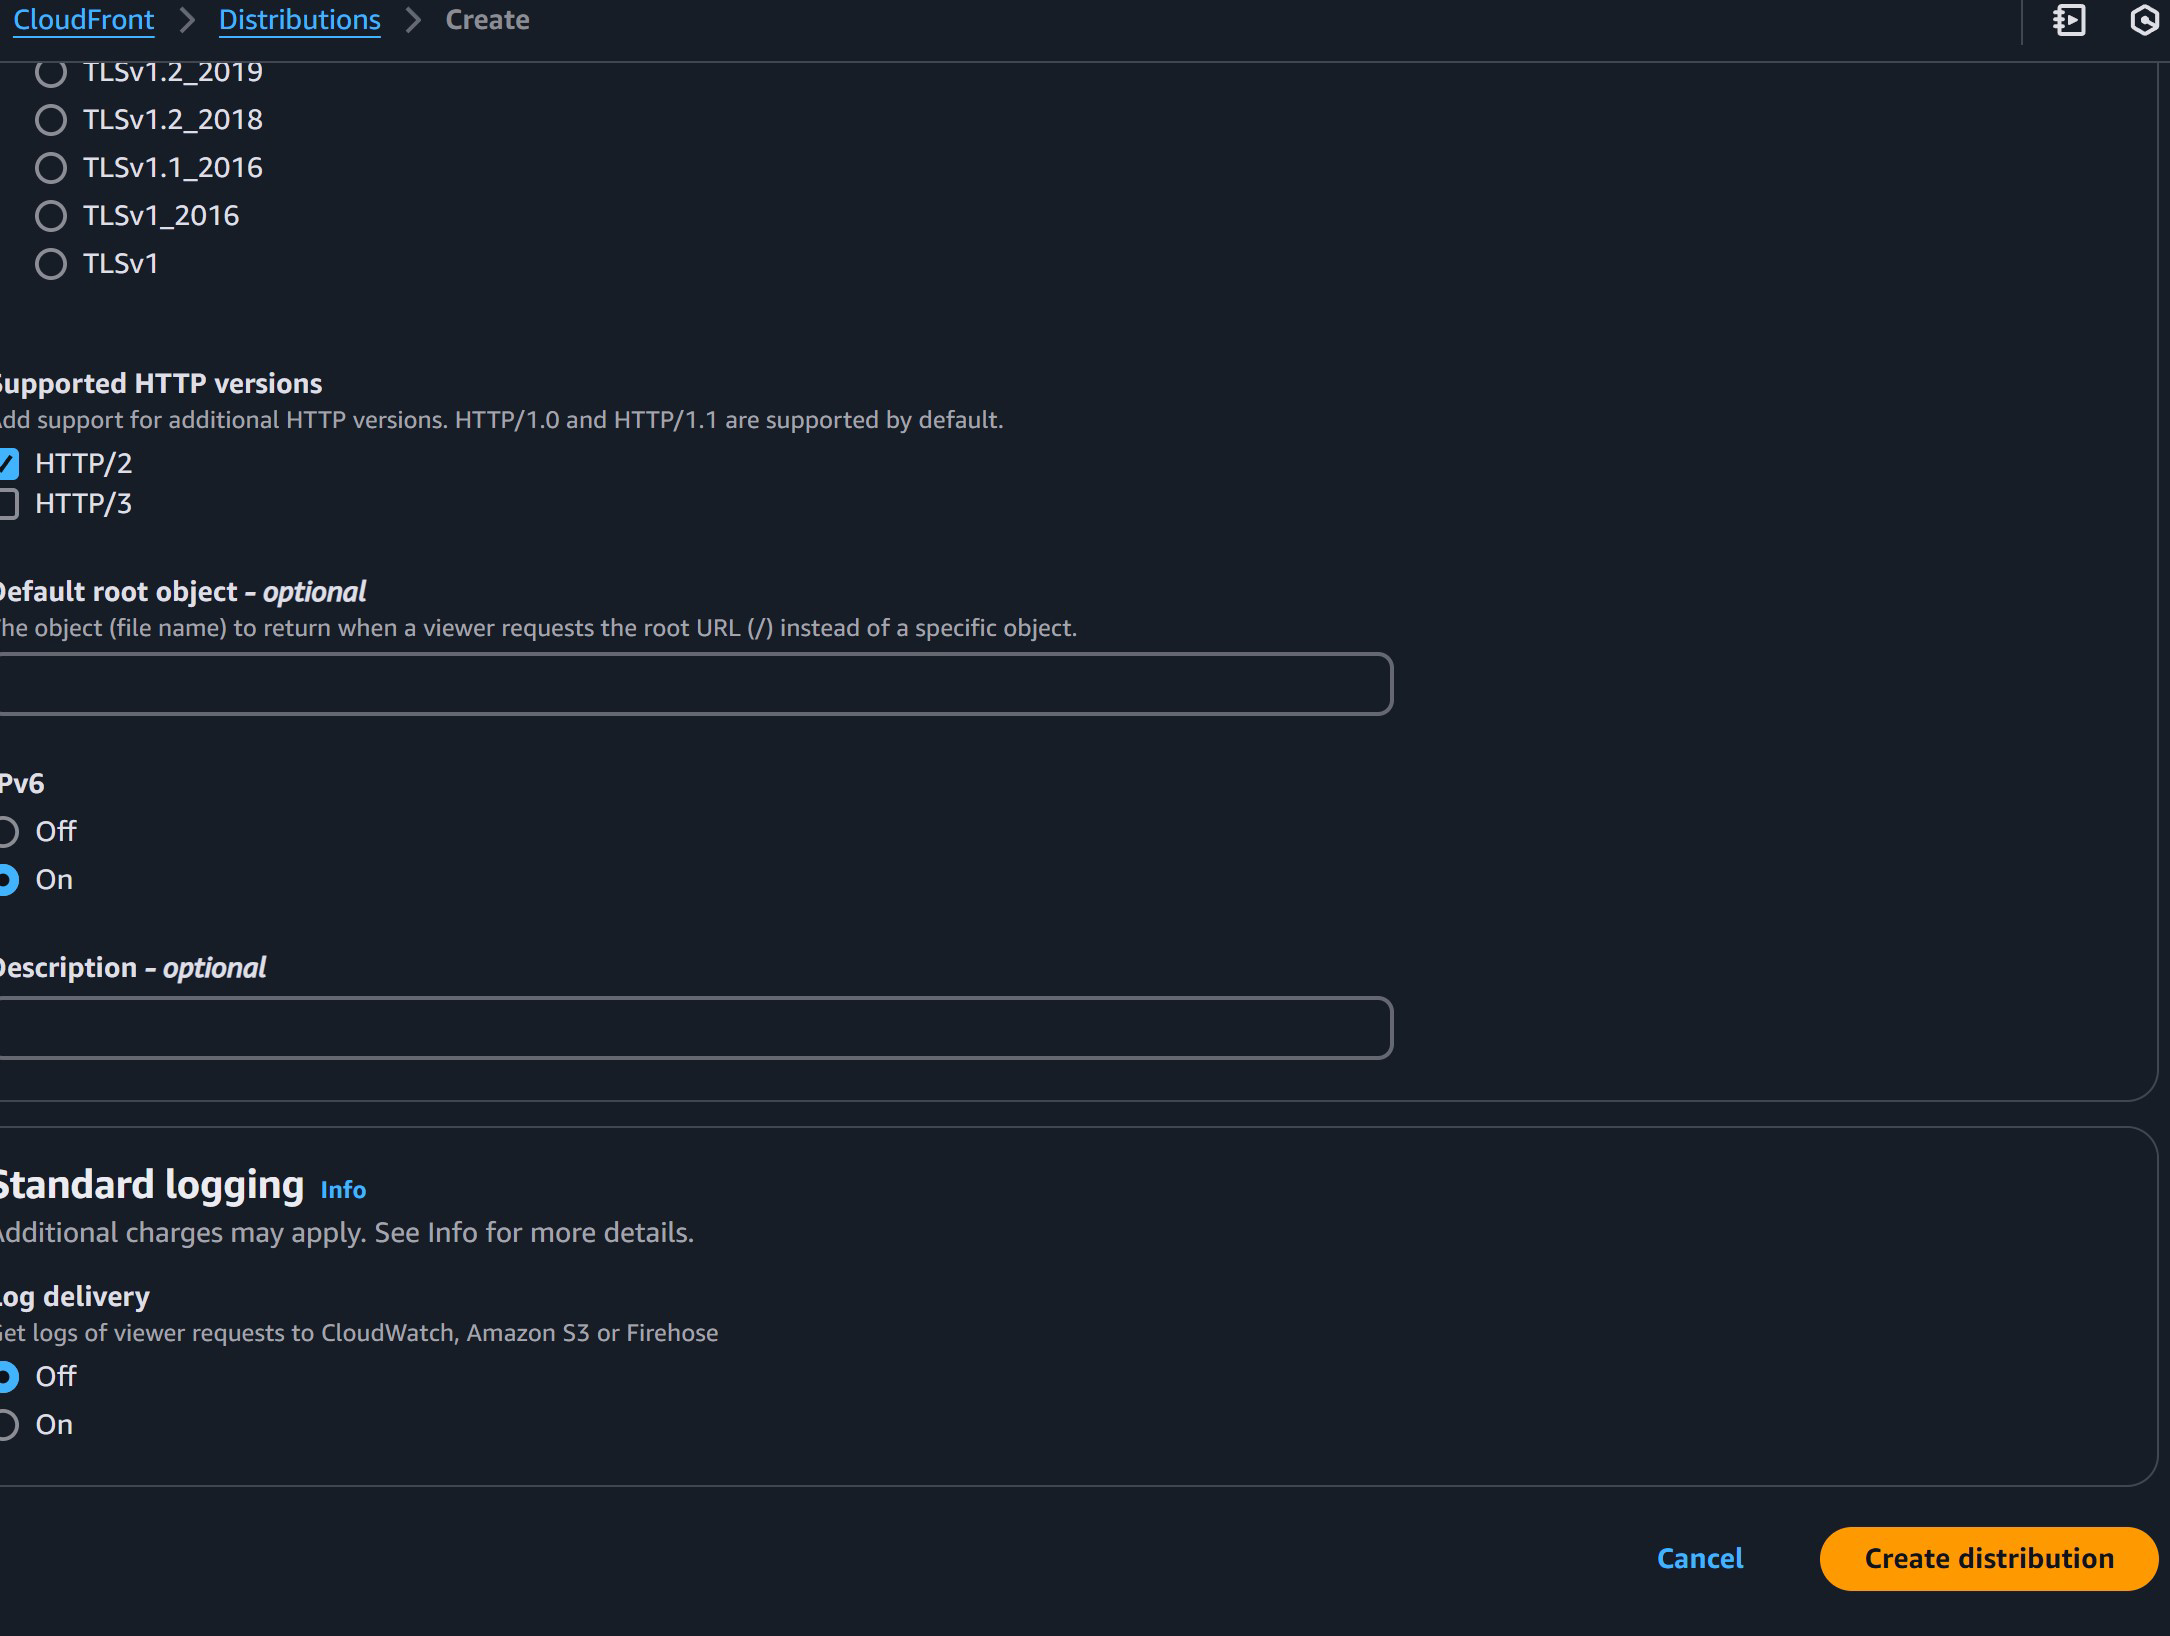
Leave the settings just like this
And finally hit “Create Distribution”
Which will take you to this screen that shows the status of the CloudFront distribution.
Distribution, because it’s a whole lot of computers around the world that take the snapshot of your site

Leave the above window open and let’s do one..last..jobbers before all this stuff falls into place.
We have to connect our actual website name in Route 53 to point to our CloudFront distribution which does the HTTPS stuff!
So we have to go back Route 53 and change the those two “A” records from pointing to our s3-website to point to our CloudFront distribution.
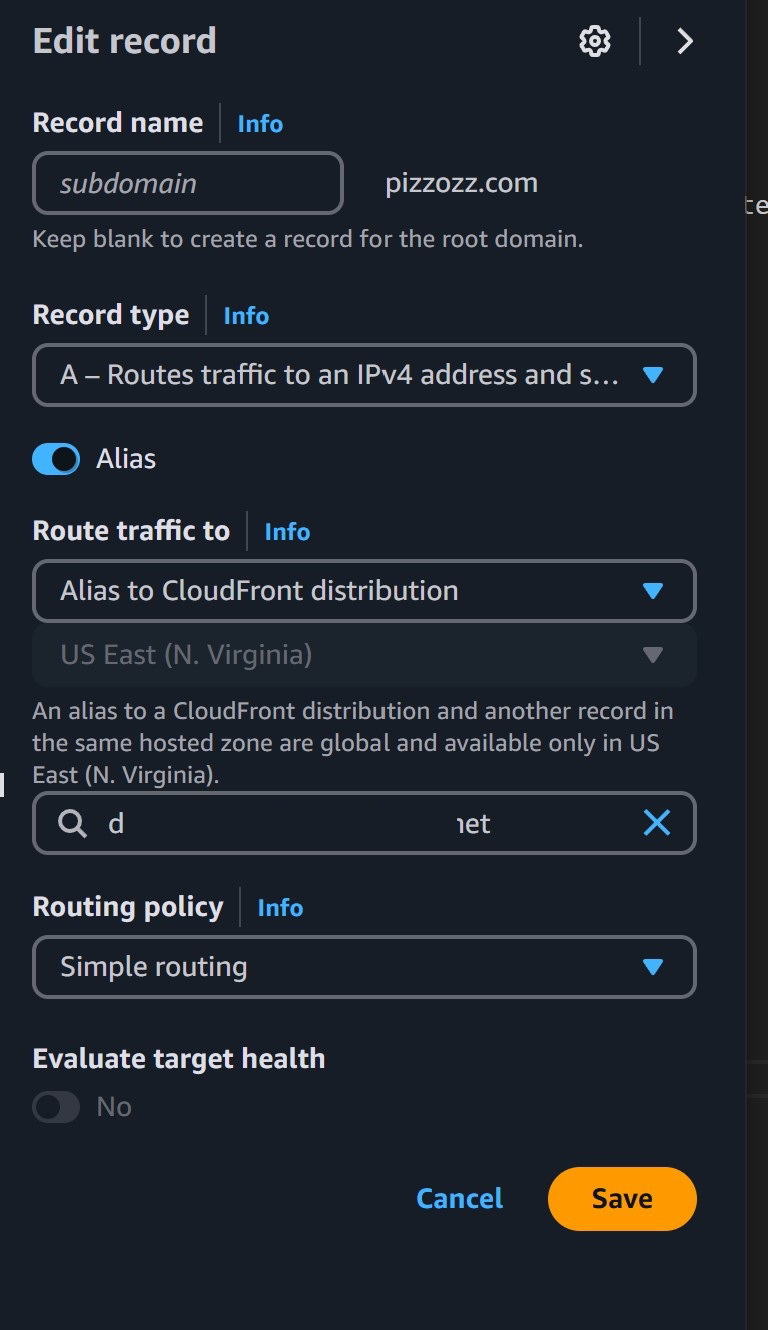
So pick either one to start with, I did pizzozz.com and hit “Edit Record”

Here we select “Route traffic to” and then from dropdown “Alias to CloudFront distribution”
Now if the dropdown doesn’t appear just copy and paste the distribution ID without the https stuff as shown here. Then slam that “Save”!
HOLD ON! IT WILL NOT WORK IF YOU FORGOT TO DO ONE THING!
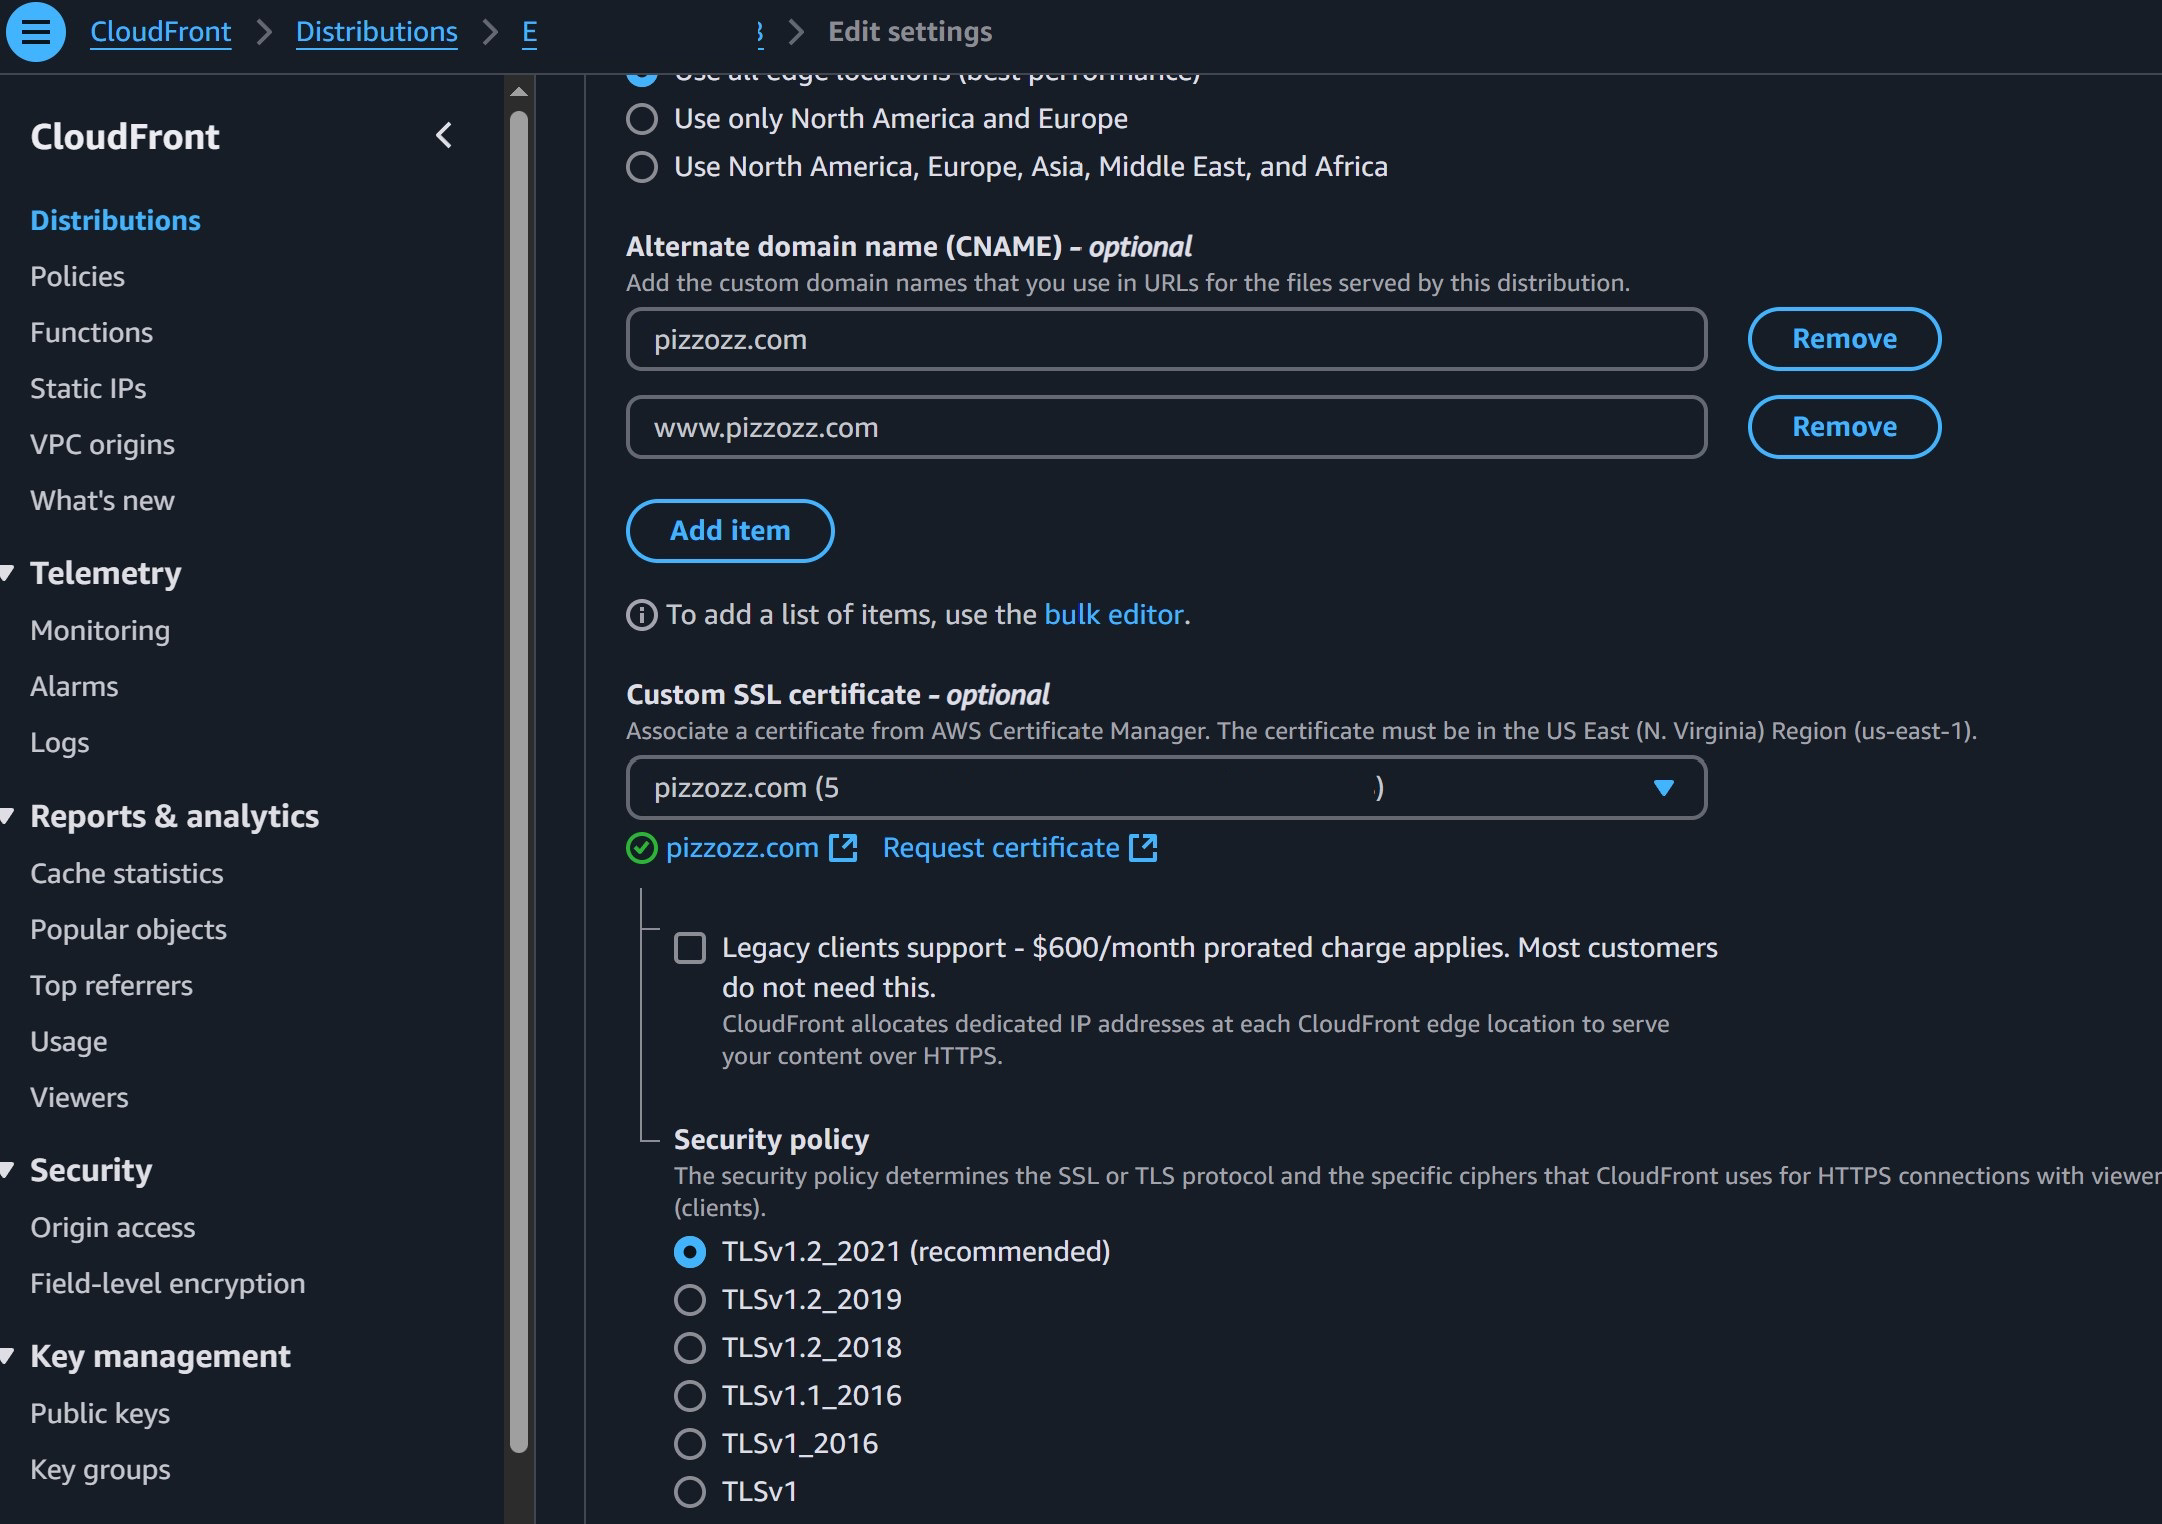
Sometimes I forget to update this ‘cause I not good, and you might have as well. If the site still doesn’t work make sure this step is done. Go back to CloudFront and select our distribution and hit “Edit” under settings.
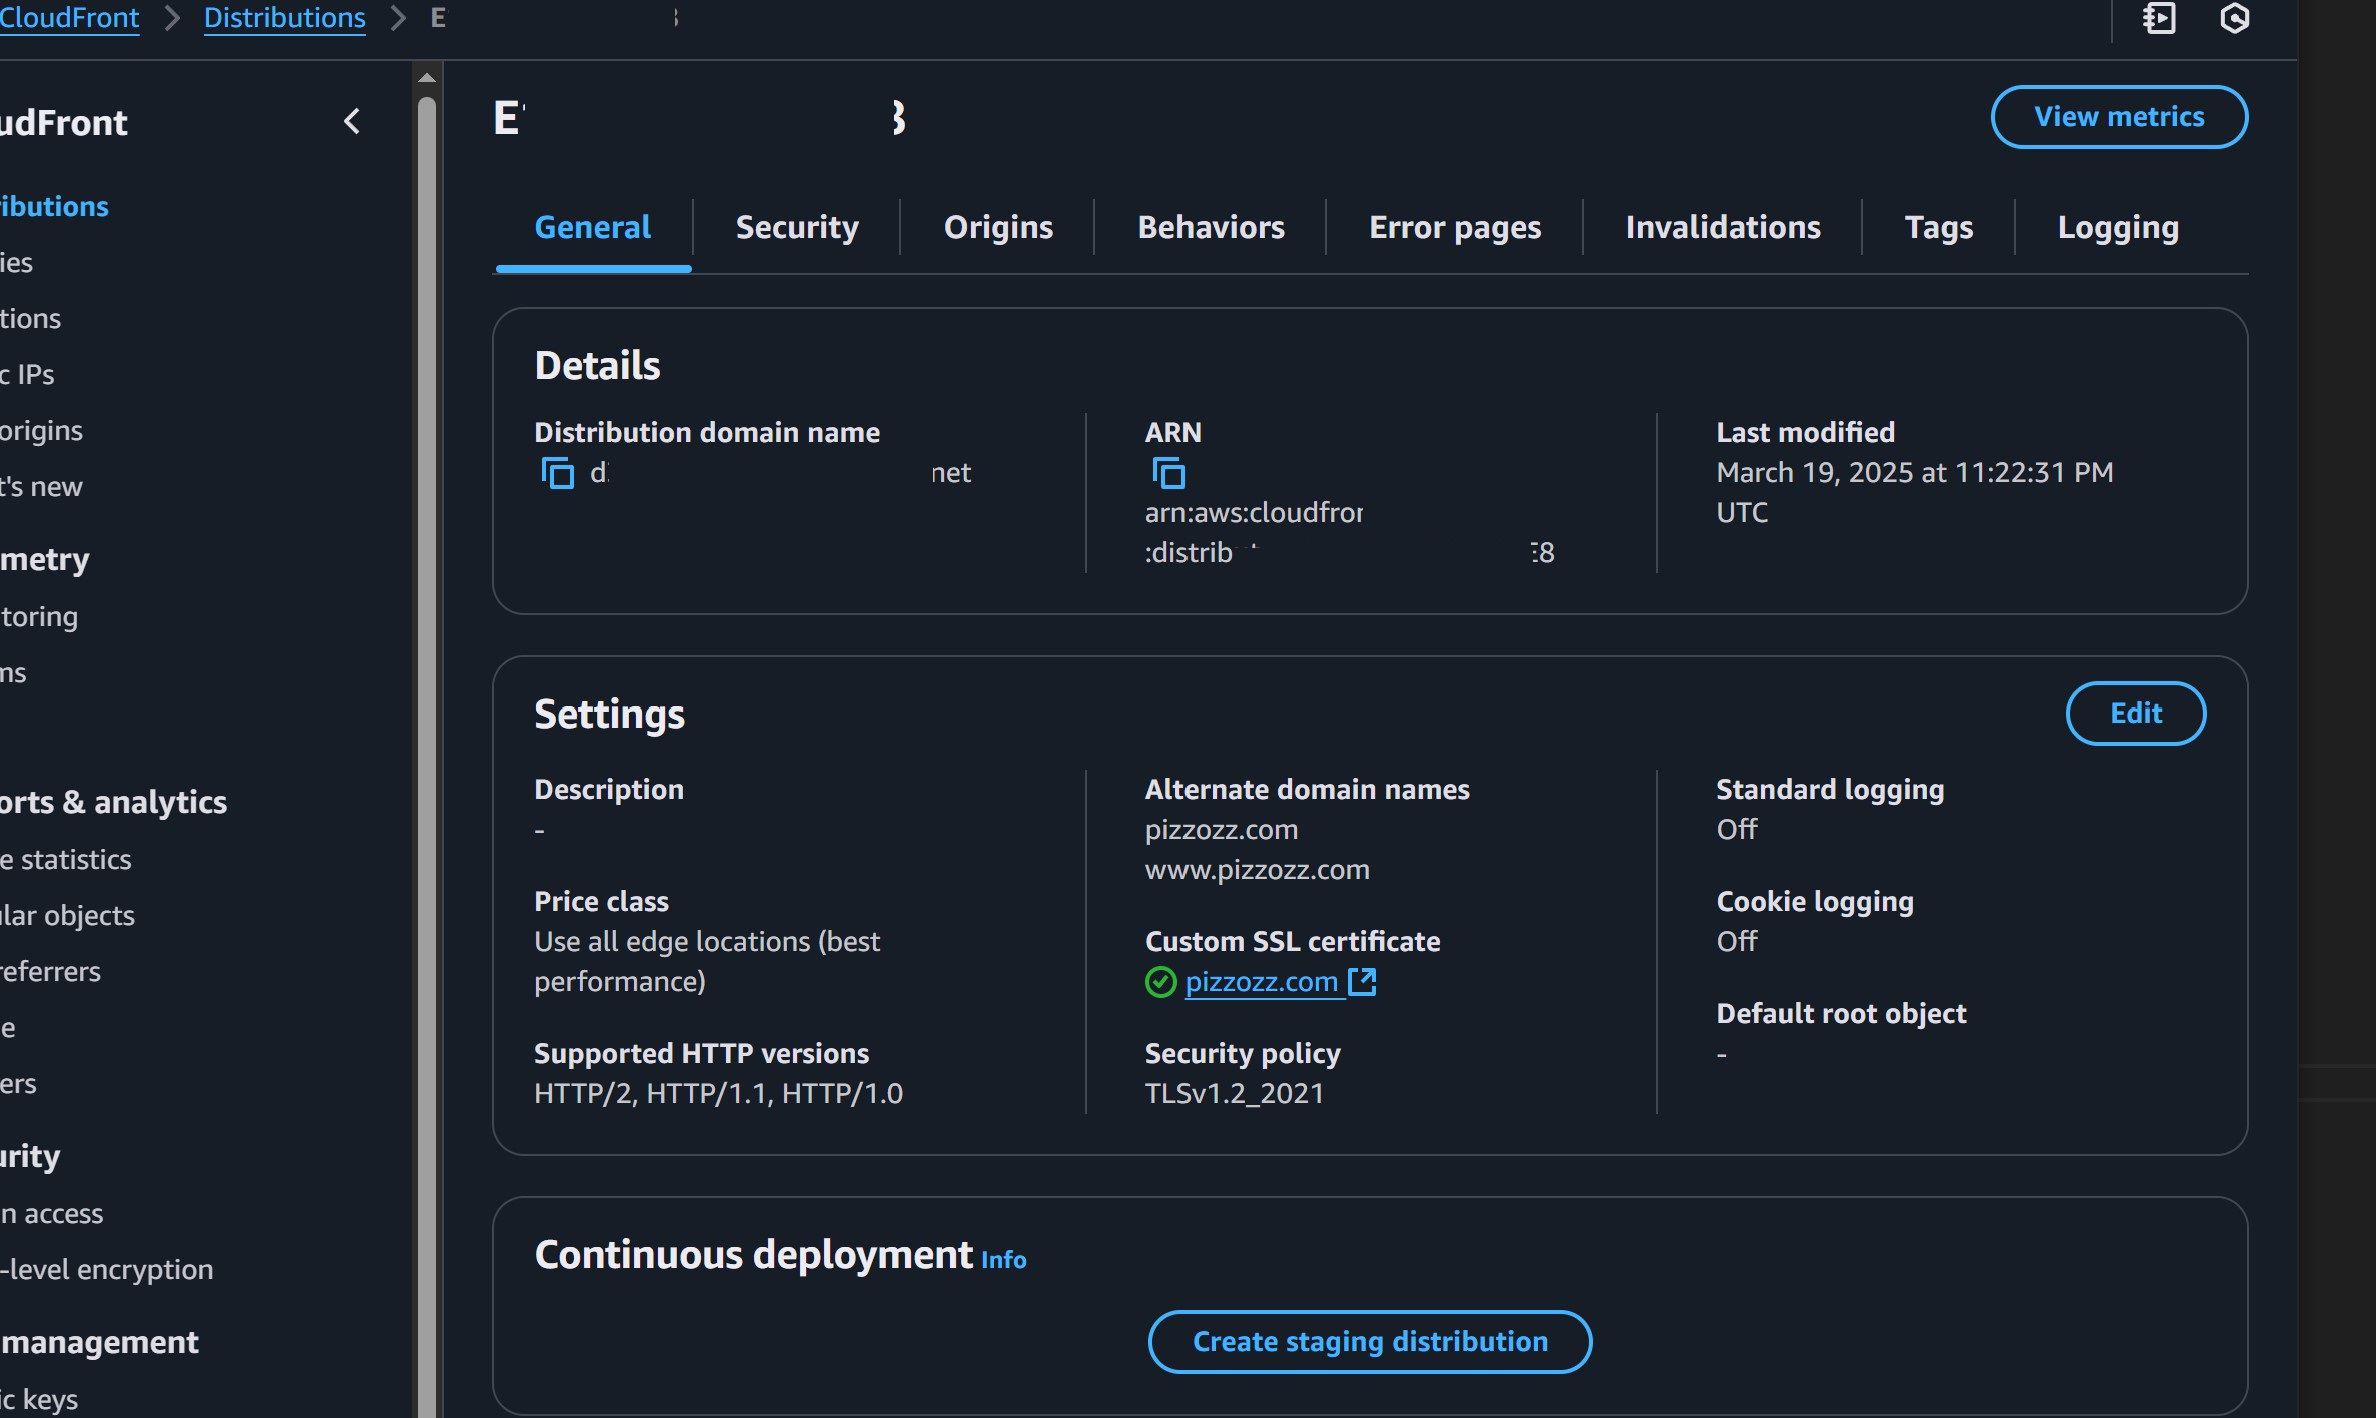
For the alternate domain names we want to add both pizzozz.com and www.pizzozz.com so they work correctly through CloudFront. “Save Changes”
and
finally
drum-roll
after all that work…
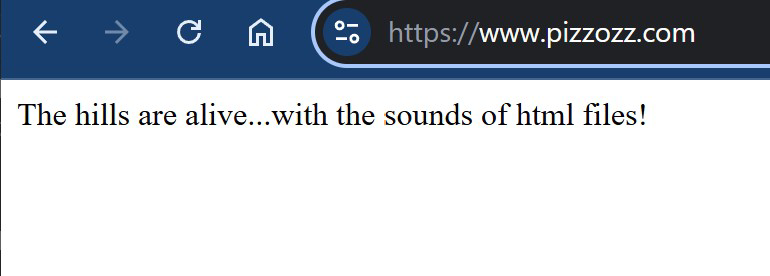
No more security issues! We are running https Wow…so…anti-climactic. I know. But! trust me you just went through a full back-end-ish website set-up!
That’s amazing! You should pat yourself on the back. Not a lot of people can do this from scratch!
At this point, if you remember anything from your MySpace days with HTML, well, you know what TODO! Go make your site!
But if you don’t, then head over to the next article to figure out how to make the Front-End stuff!
And make it look prettys
www.pizzozz.com/make-a-websites/staticsitegenerator/